Use CSV files
Generate a lot of rundown items at once
In some productions, a lot of graphics, such as lower thirds, must be added to a rundown.
- export a sample from rundown item
- add content
- import to rundown
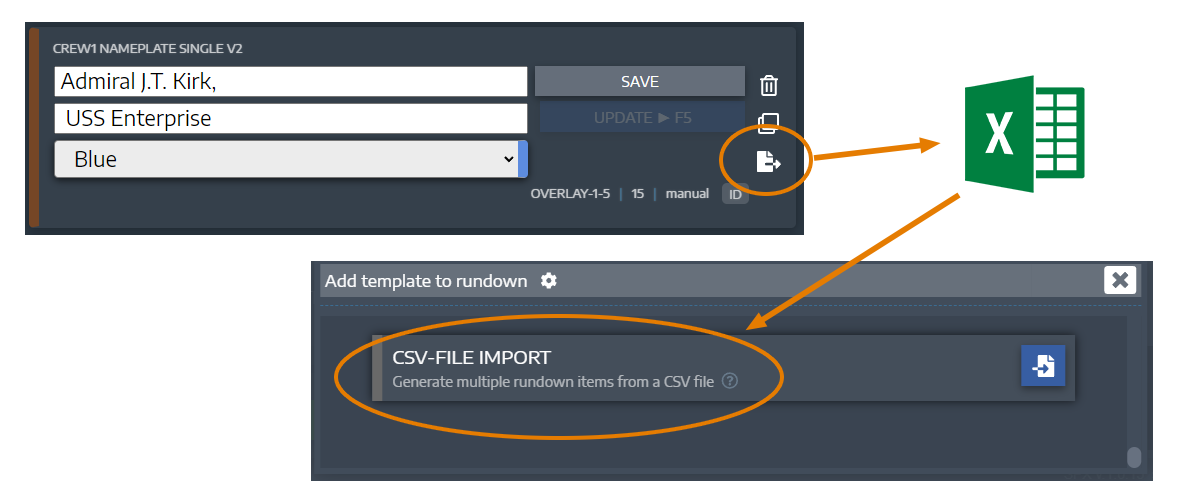
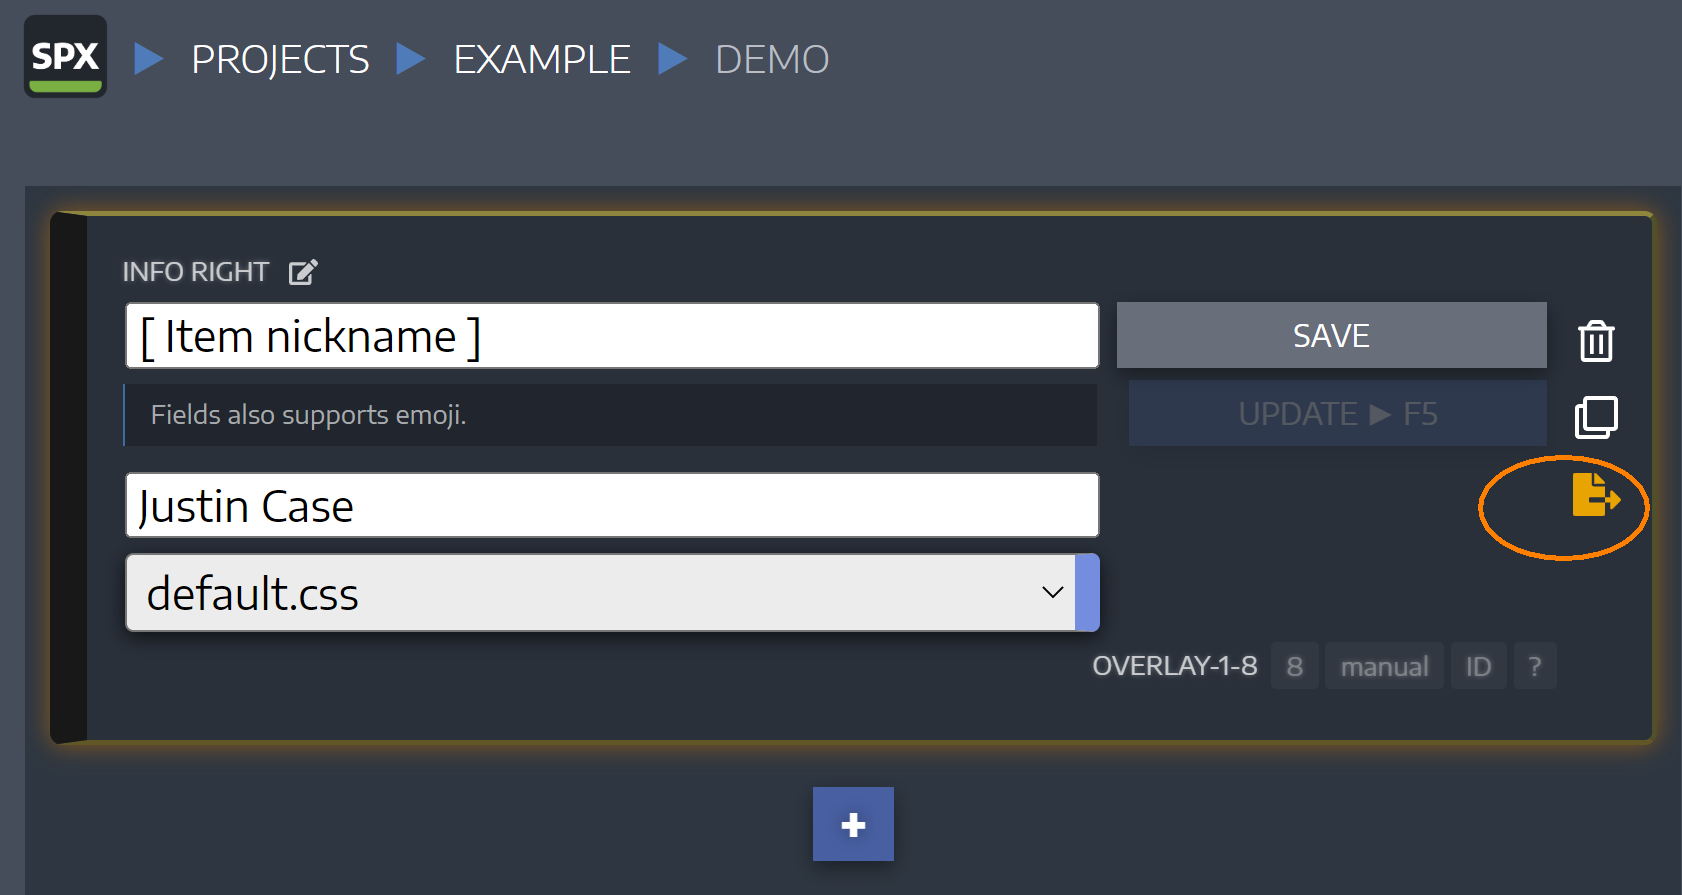
Export a sample CSV
Each template on the rundown has an Export button. When clicked a new CSV file (Comma Separated Values -file) is generated to SPX's /ASSETS/csv -folder. The filename consists of a template name and a timestamp.
The exported file contains general playout parameters (such as template reference, playout layers, timing, etc) and a sample line of data to act as an example of what content should be added to which column.
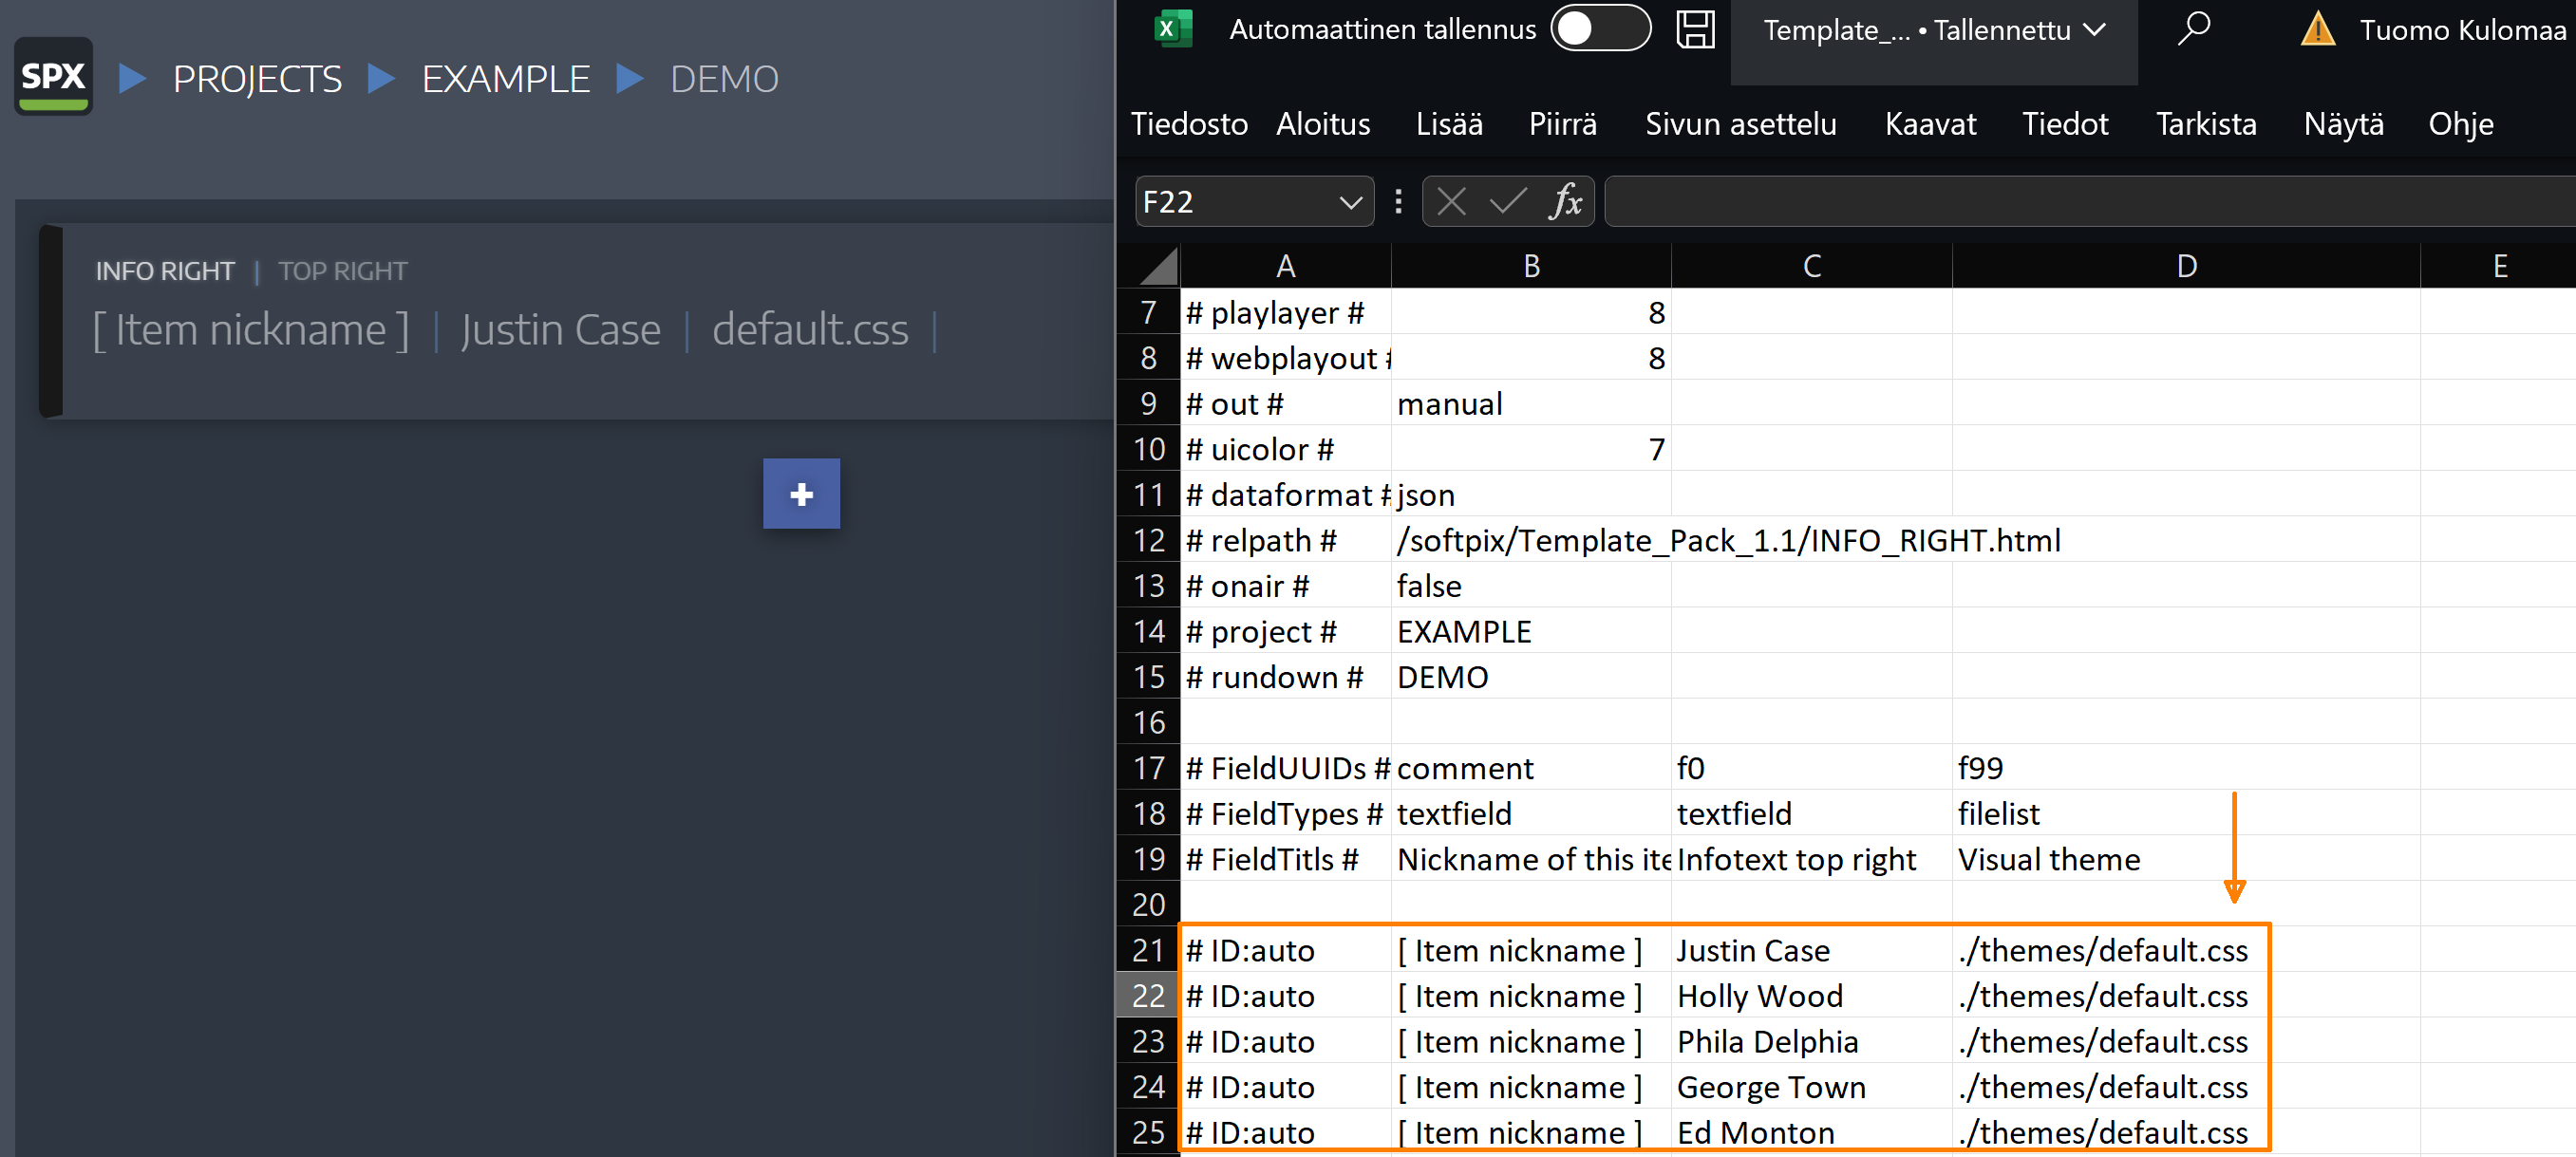
Add content to CSV file
Once you have exported a CSV-file open it up in a Spreadsheet program. Excel for example can read CSV-data and generate required columns and rows.
The last row of the file is an example and contains the data which was saved to the rundown item before the export.
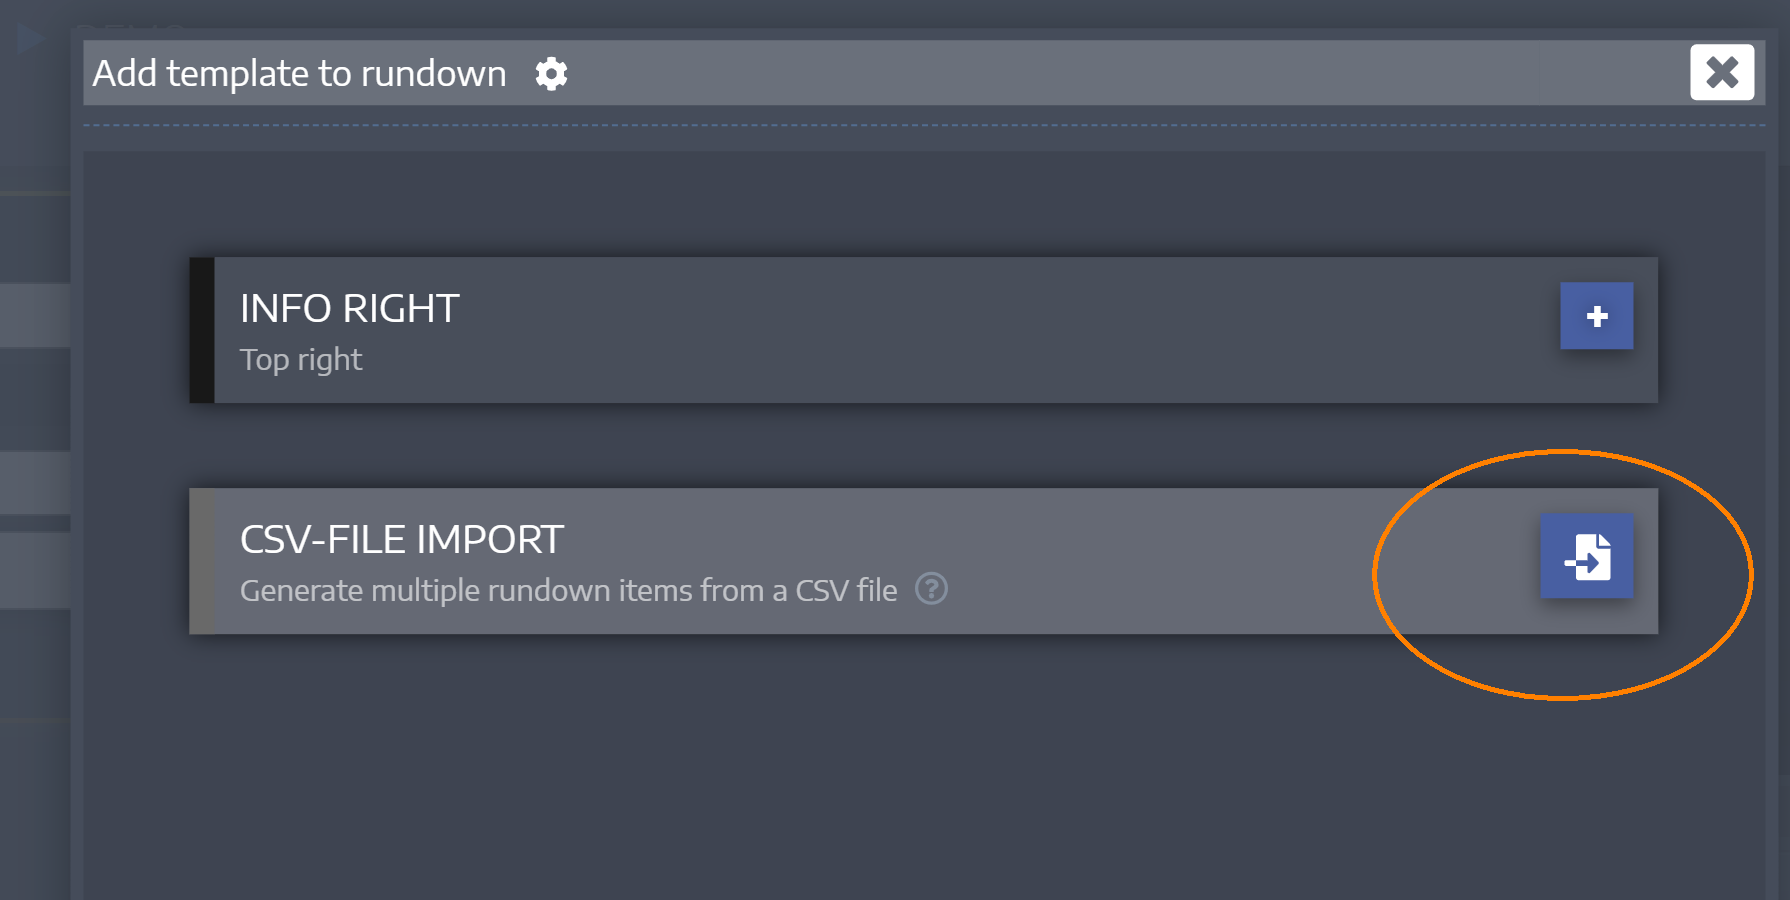
Import CSV file
Each row in the spreadsheet represents an item on the rundown. Once the file is filled in with several rows, the file should be exported from the Spreadsheet software as a CSV-file. The file must be saved to SPX's ASSETS/csv -folder.
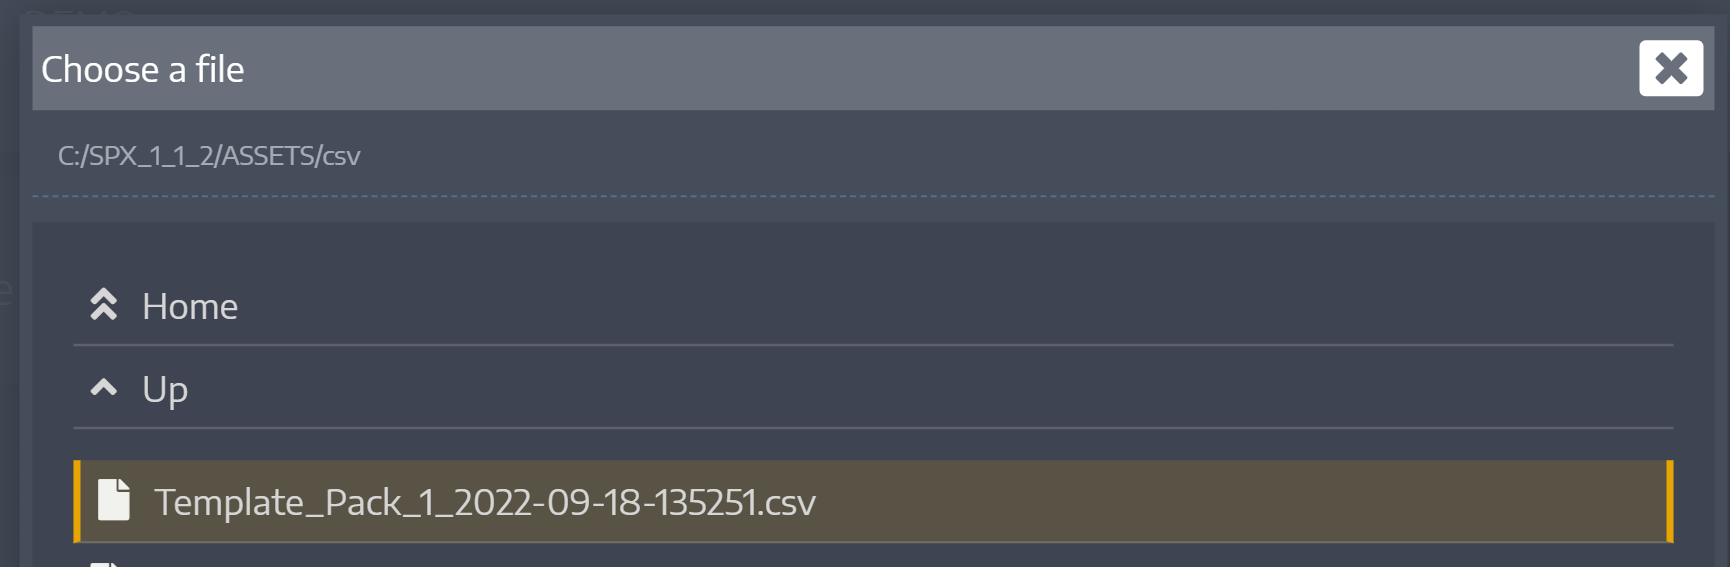
Once the file is available, go to SPX, open a rundown and click "+" -icon to add items, select "CSV file import" -option, select the file and choose "import".
Please note: if you have not changed the rundown view after exporting the example CSV file, it may not be present in the "Choose a file" -dialog. A page reload will remedy this.
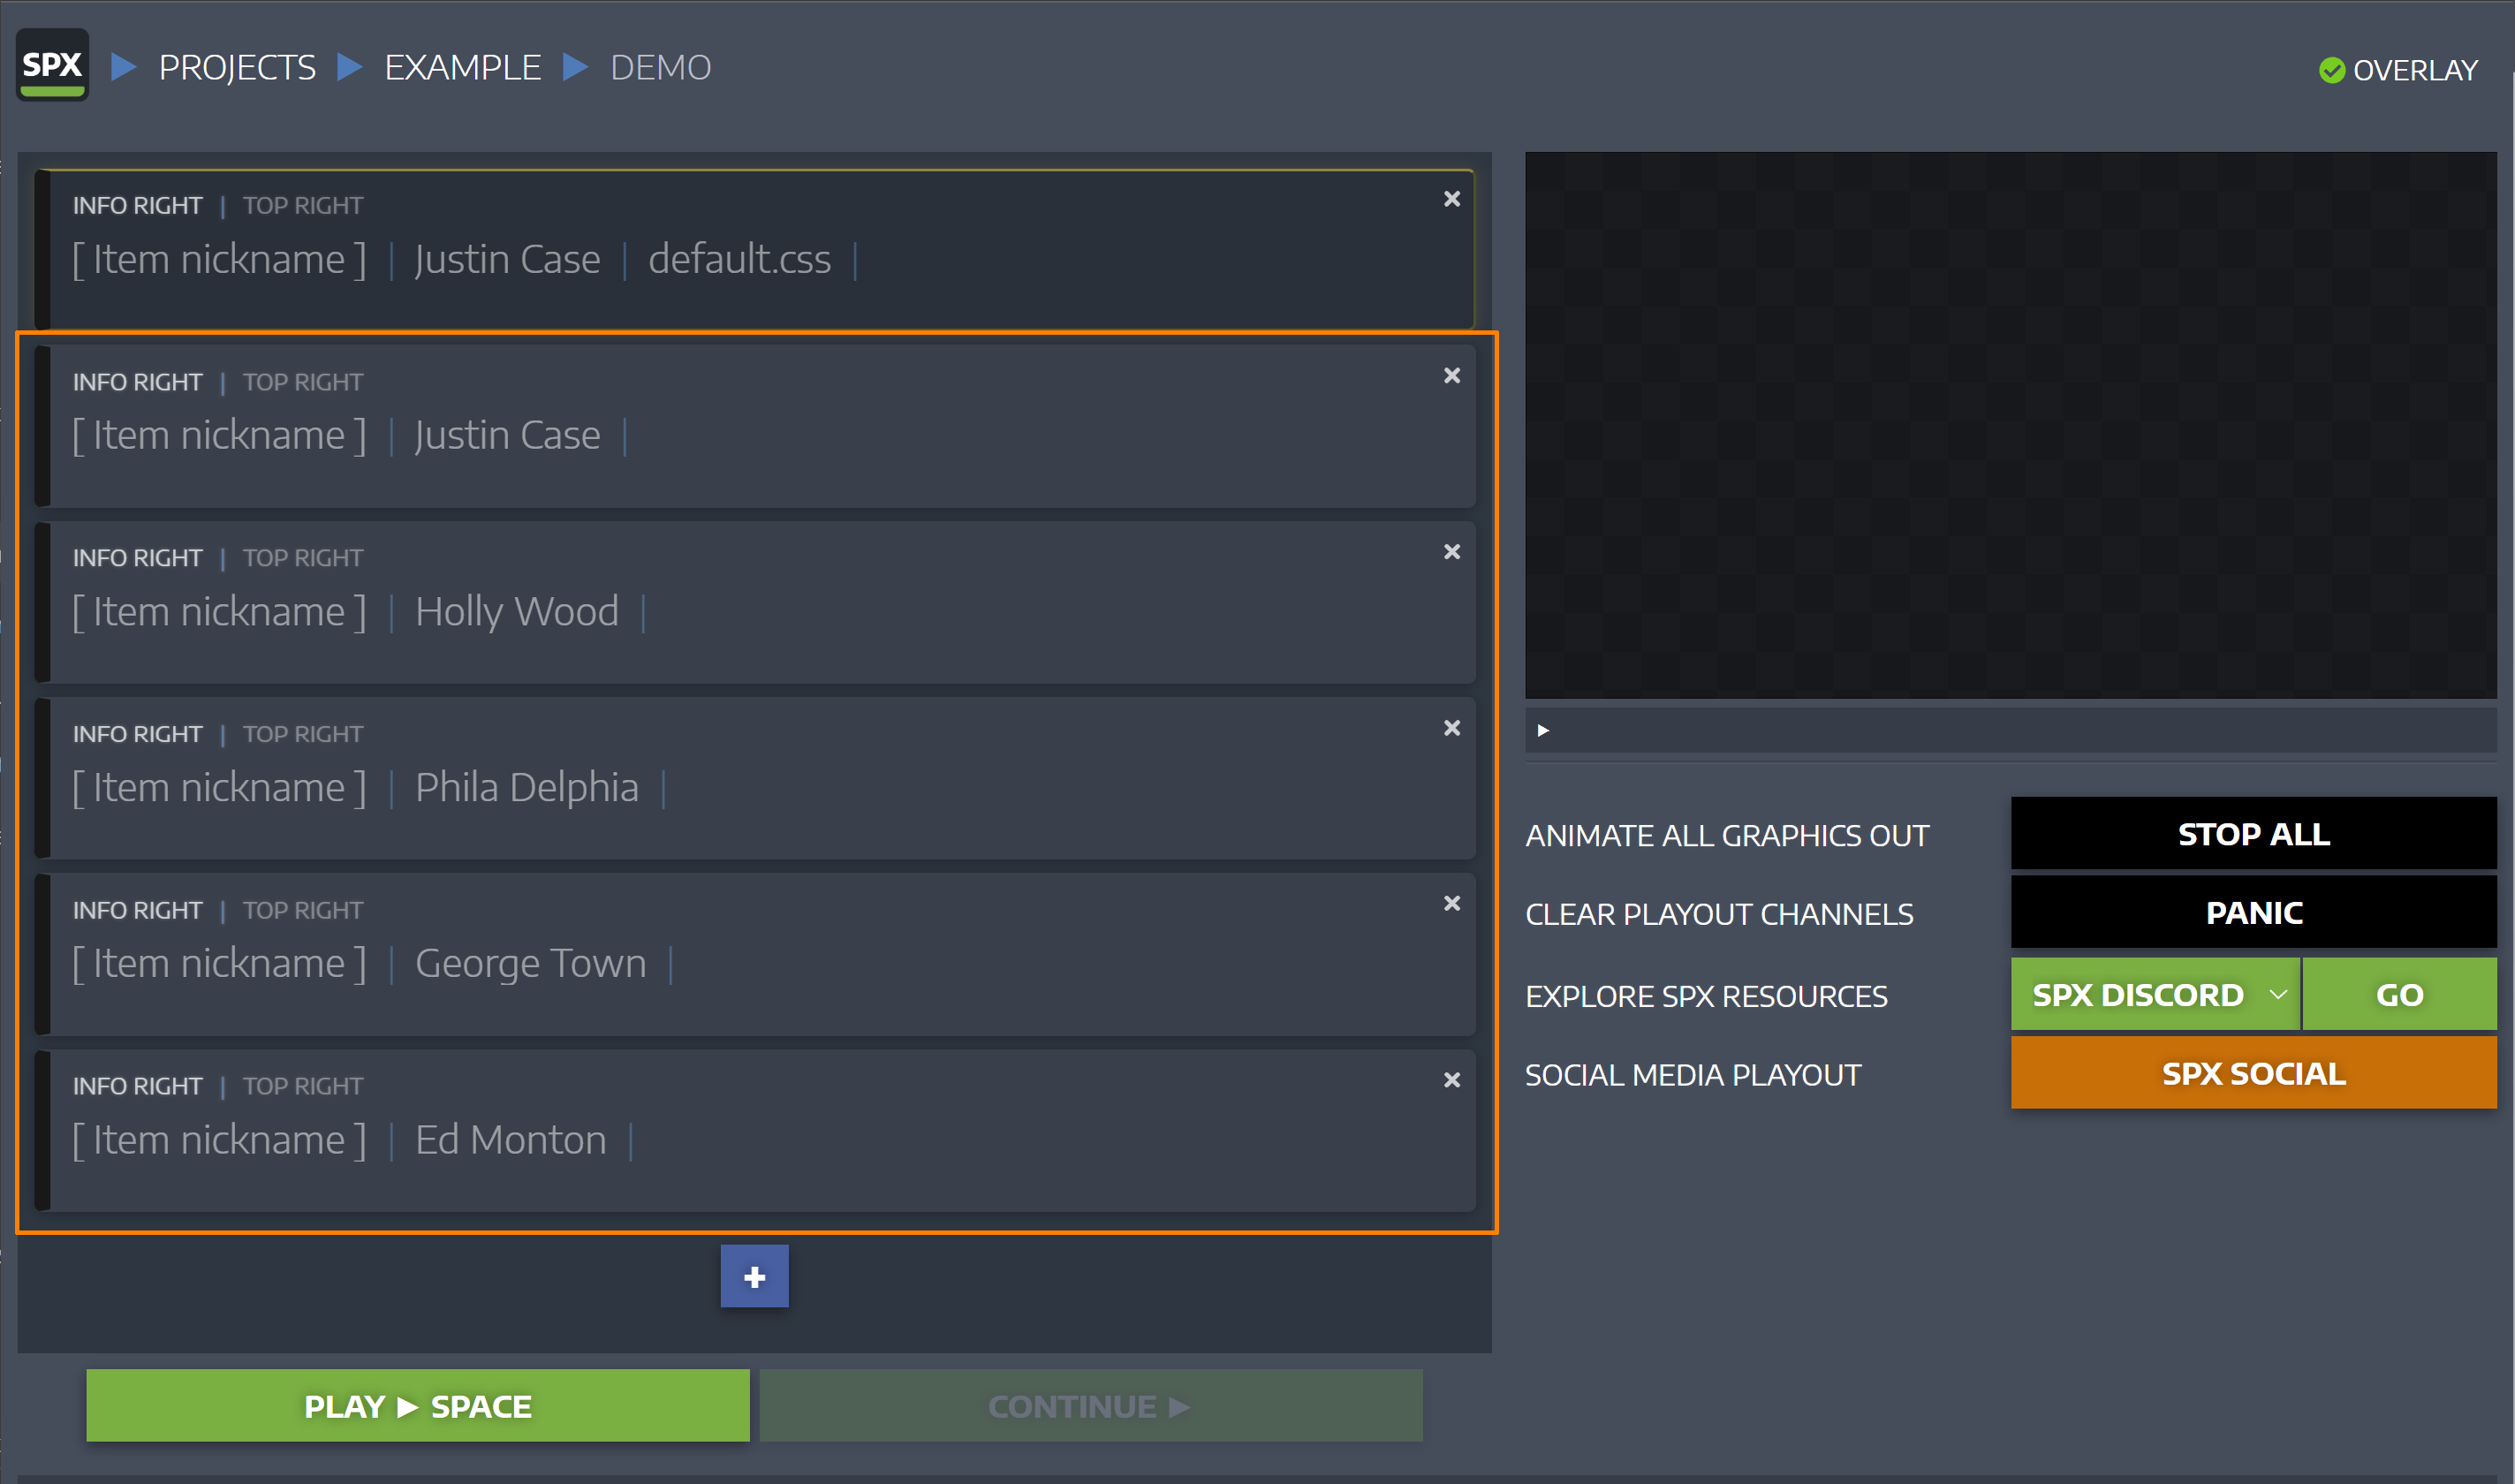
All rows of the CSV file are processed and there will be an item per row generated on to the rundown.
CSV file is exported with UTF-8 encoding and the import function also assumes UTF-8 encoded file.
Need more info? Join the SPX Discord server and ask us and the SPX community in real time.