How to use SPX with Ecamm Live

SPX Team
Last Update 2 jaar geleden
This video will show you how to set up your SPX Graphics with Ecamm Live.
In detail, you can do the following steps:
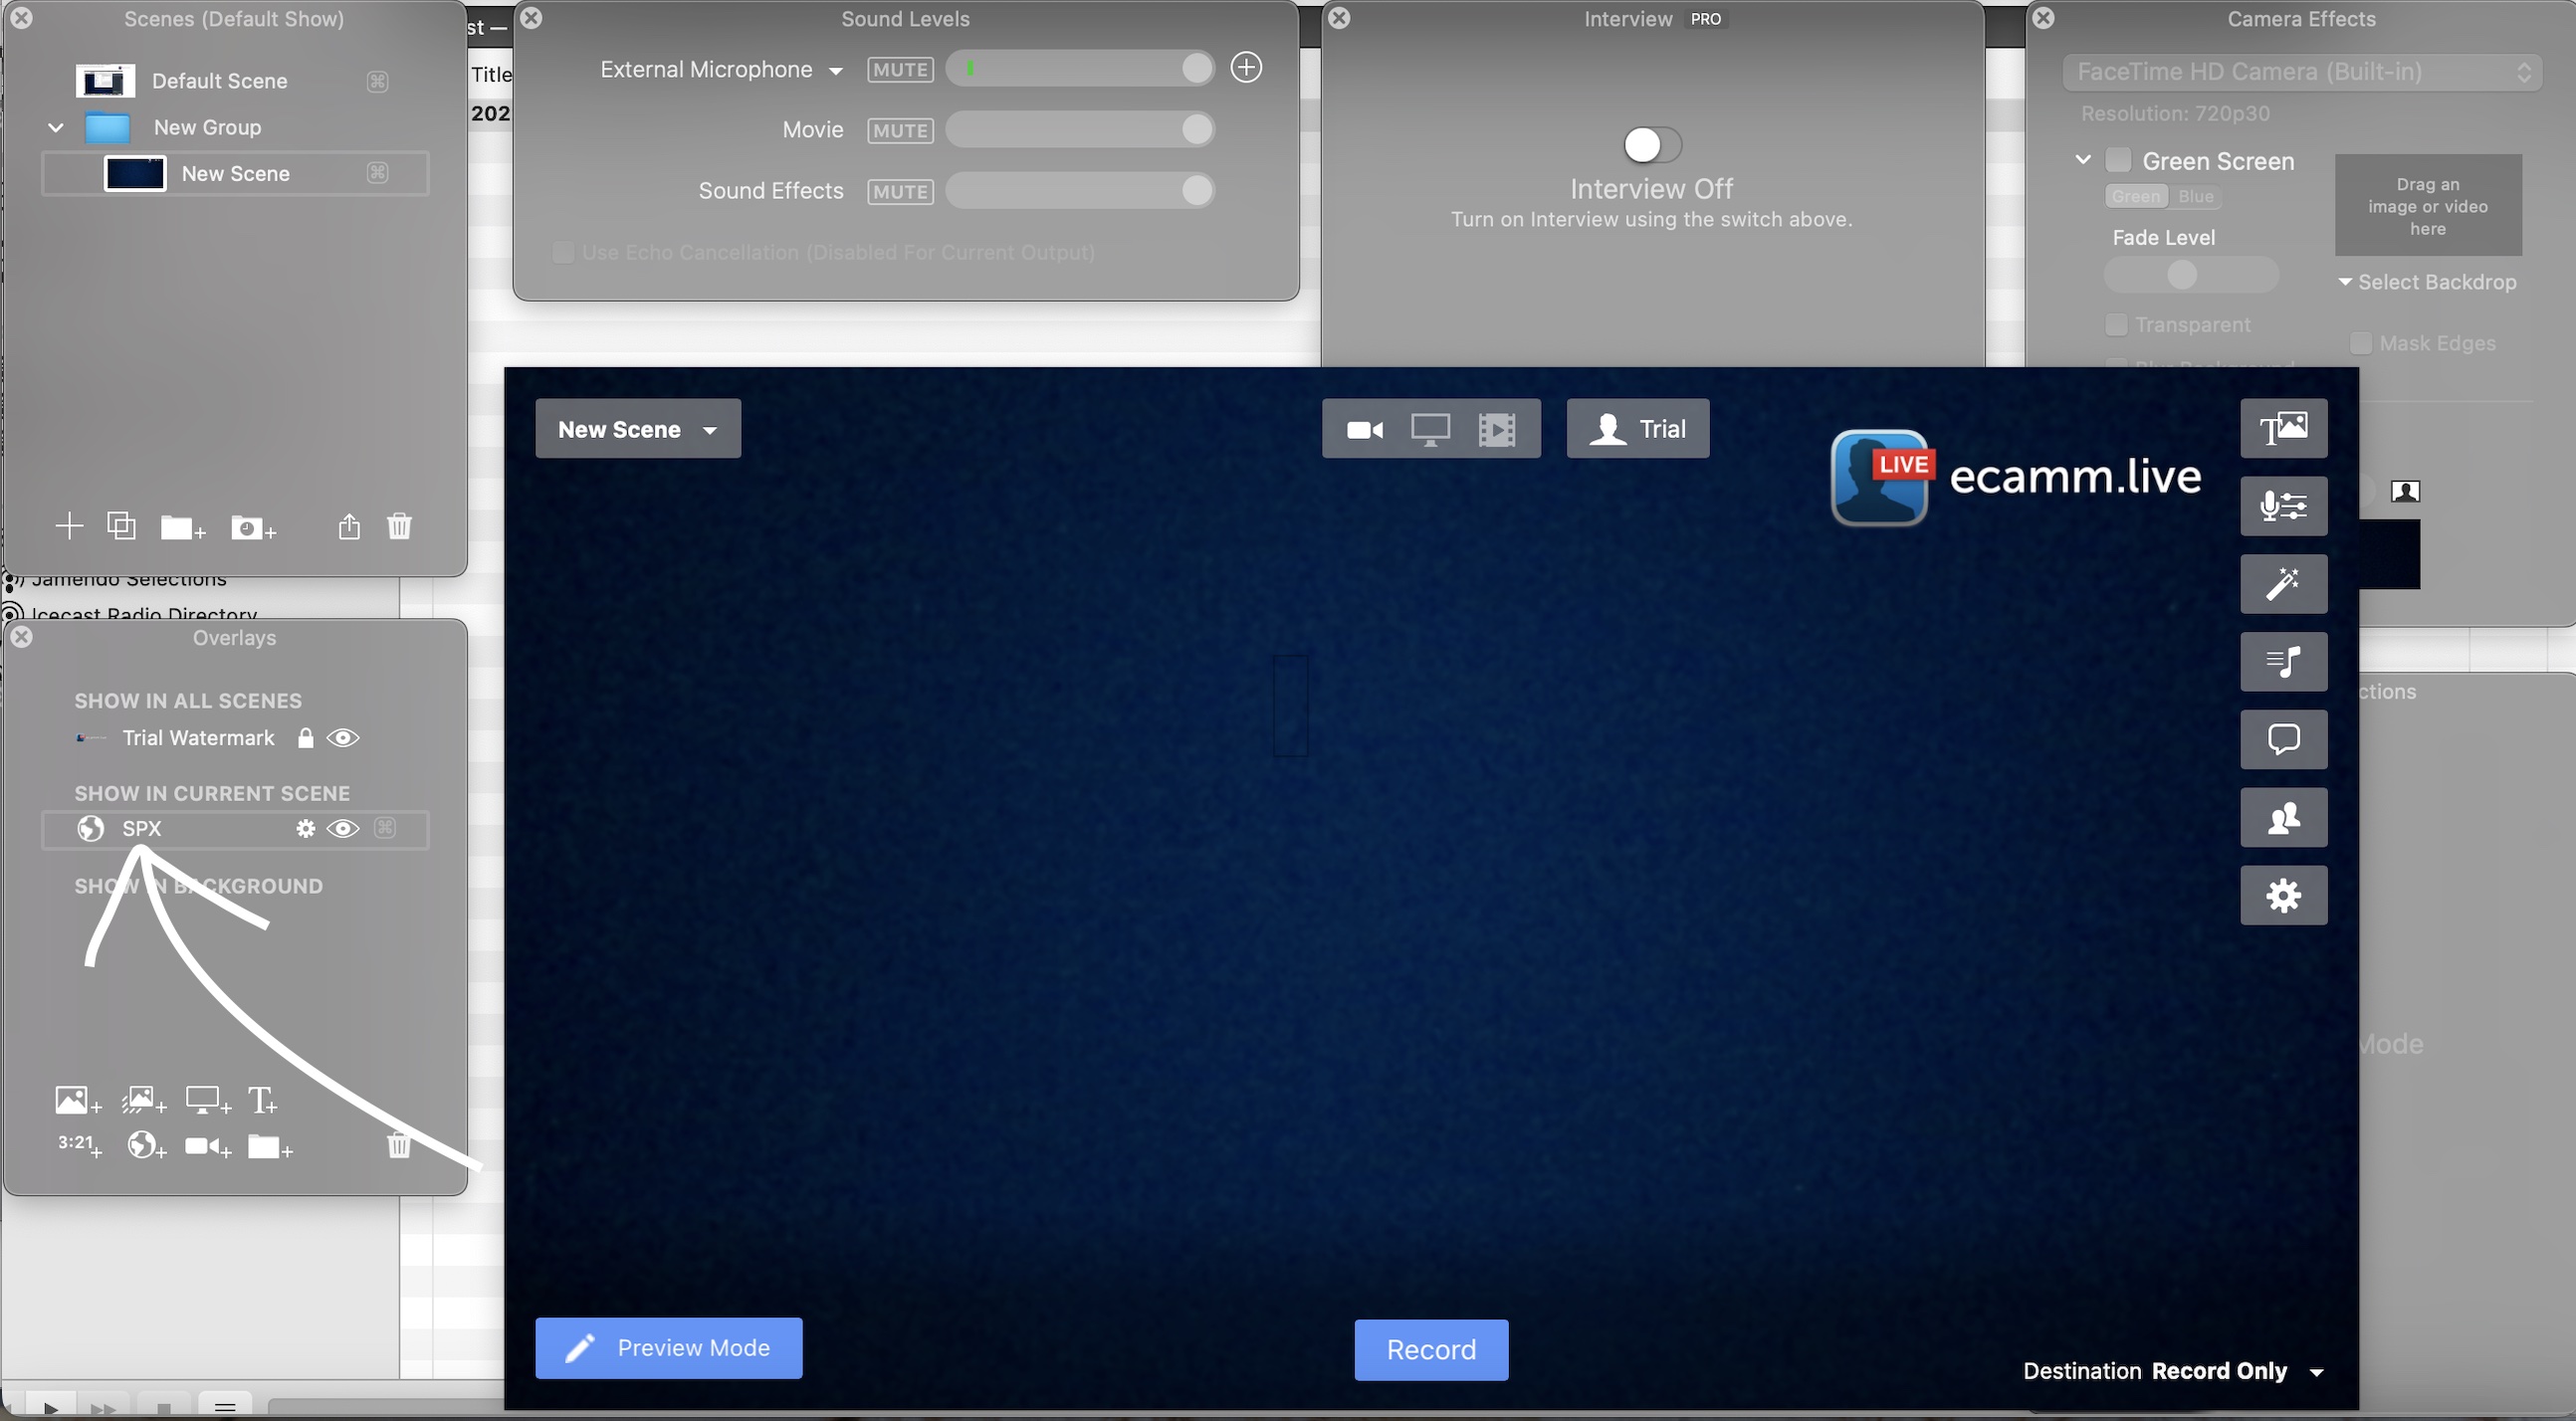
1. Open the SPX configuration by clicking on the SPX logo on the top left
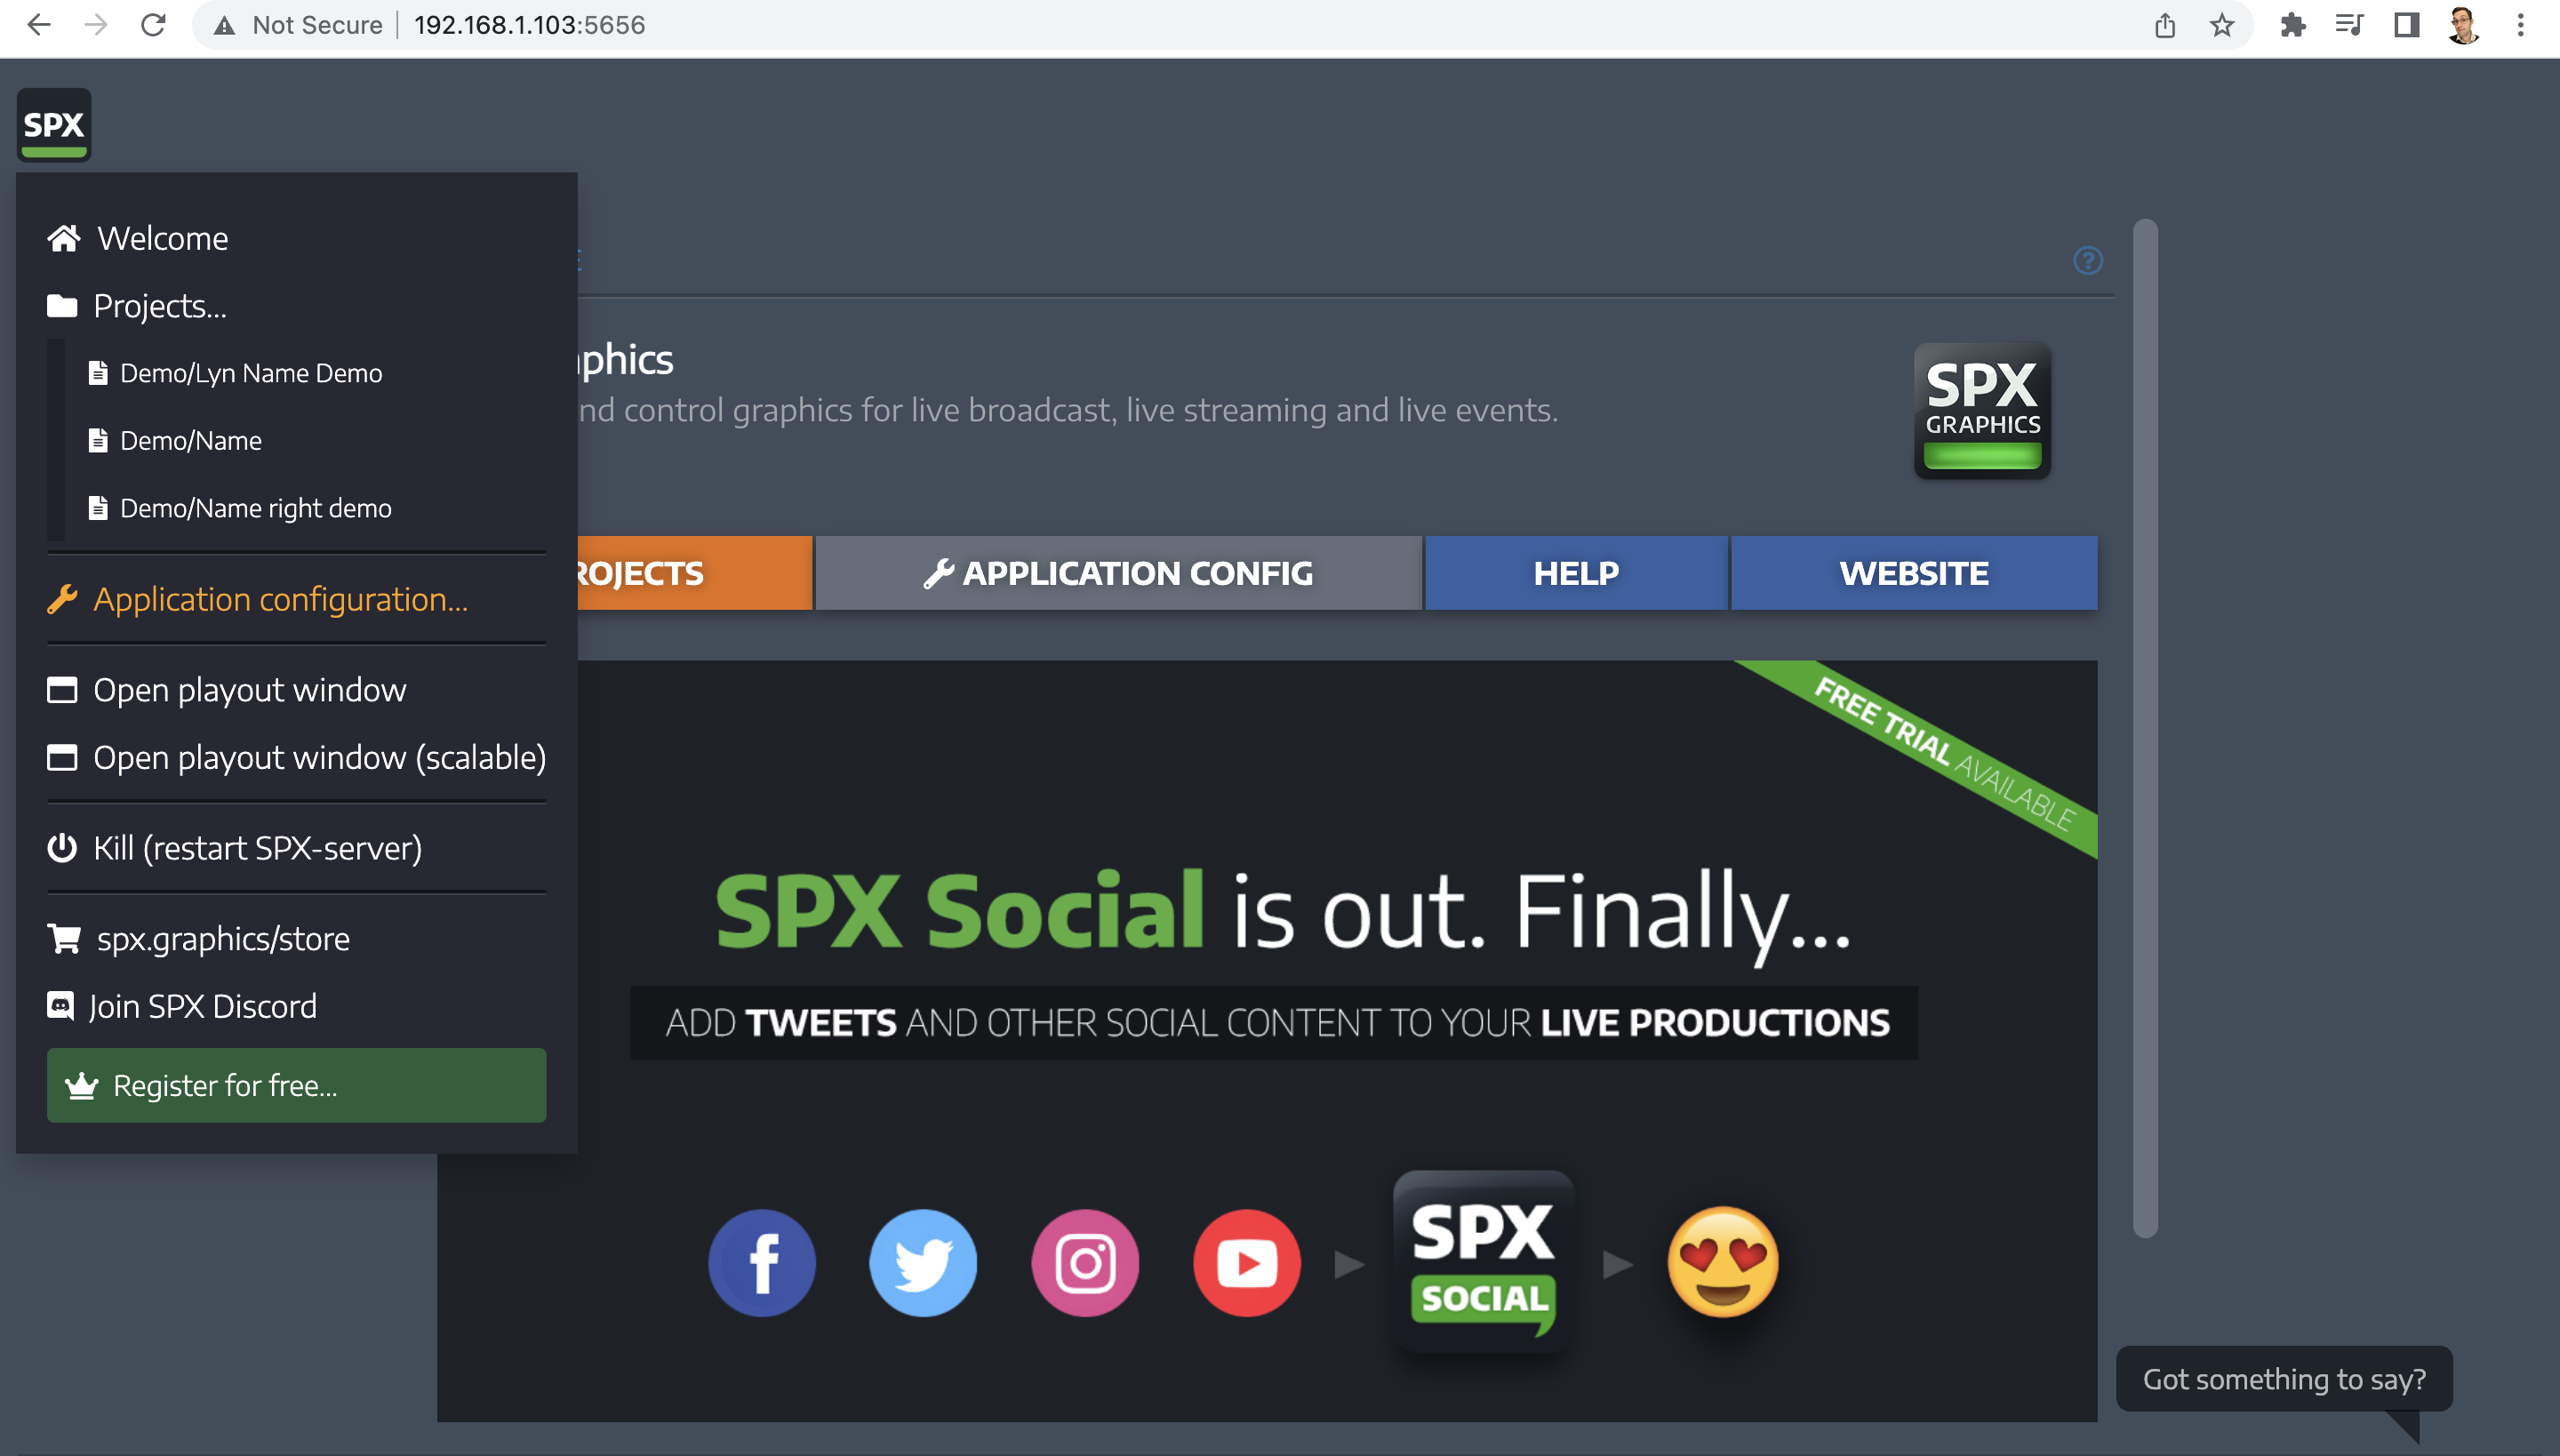
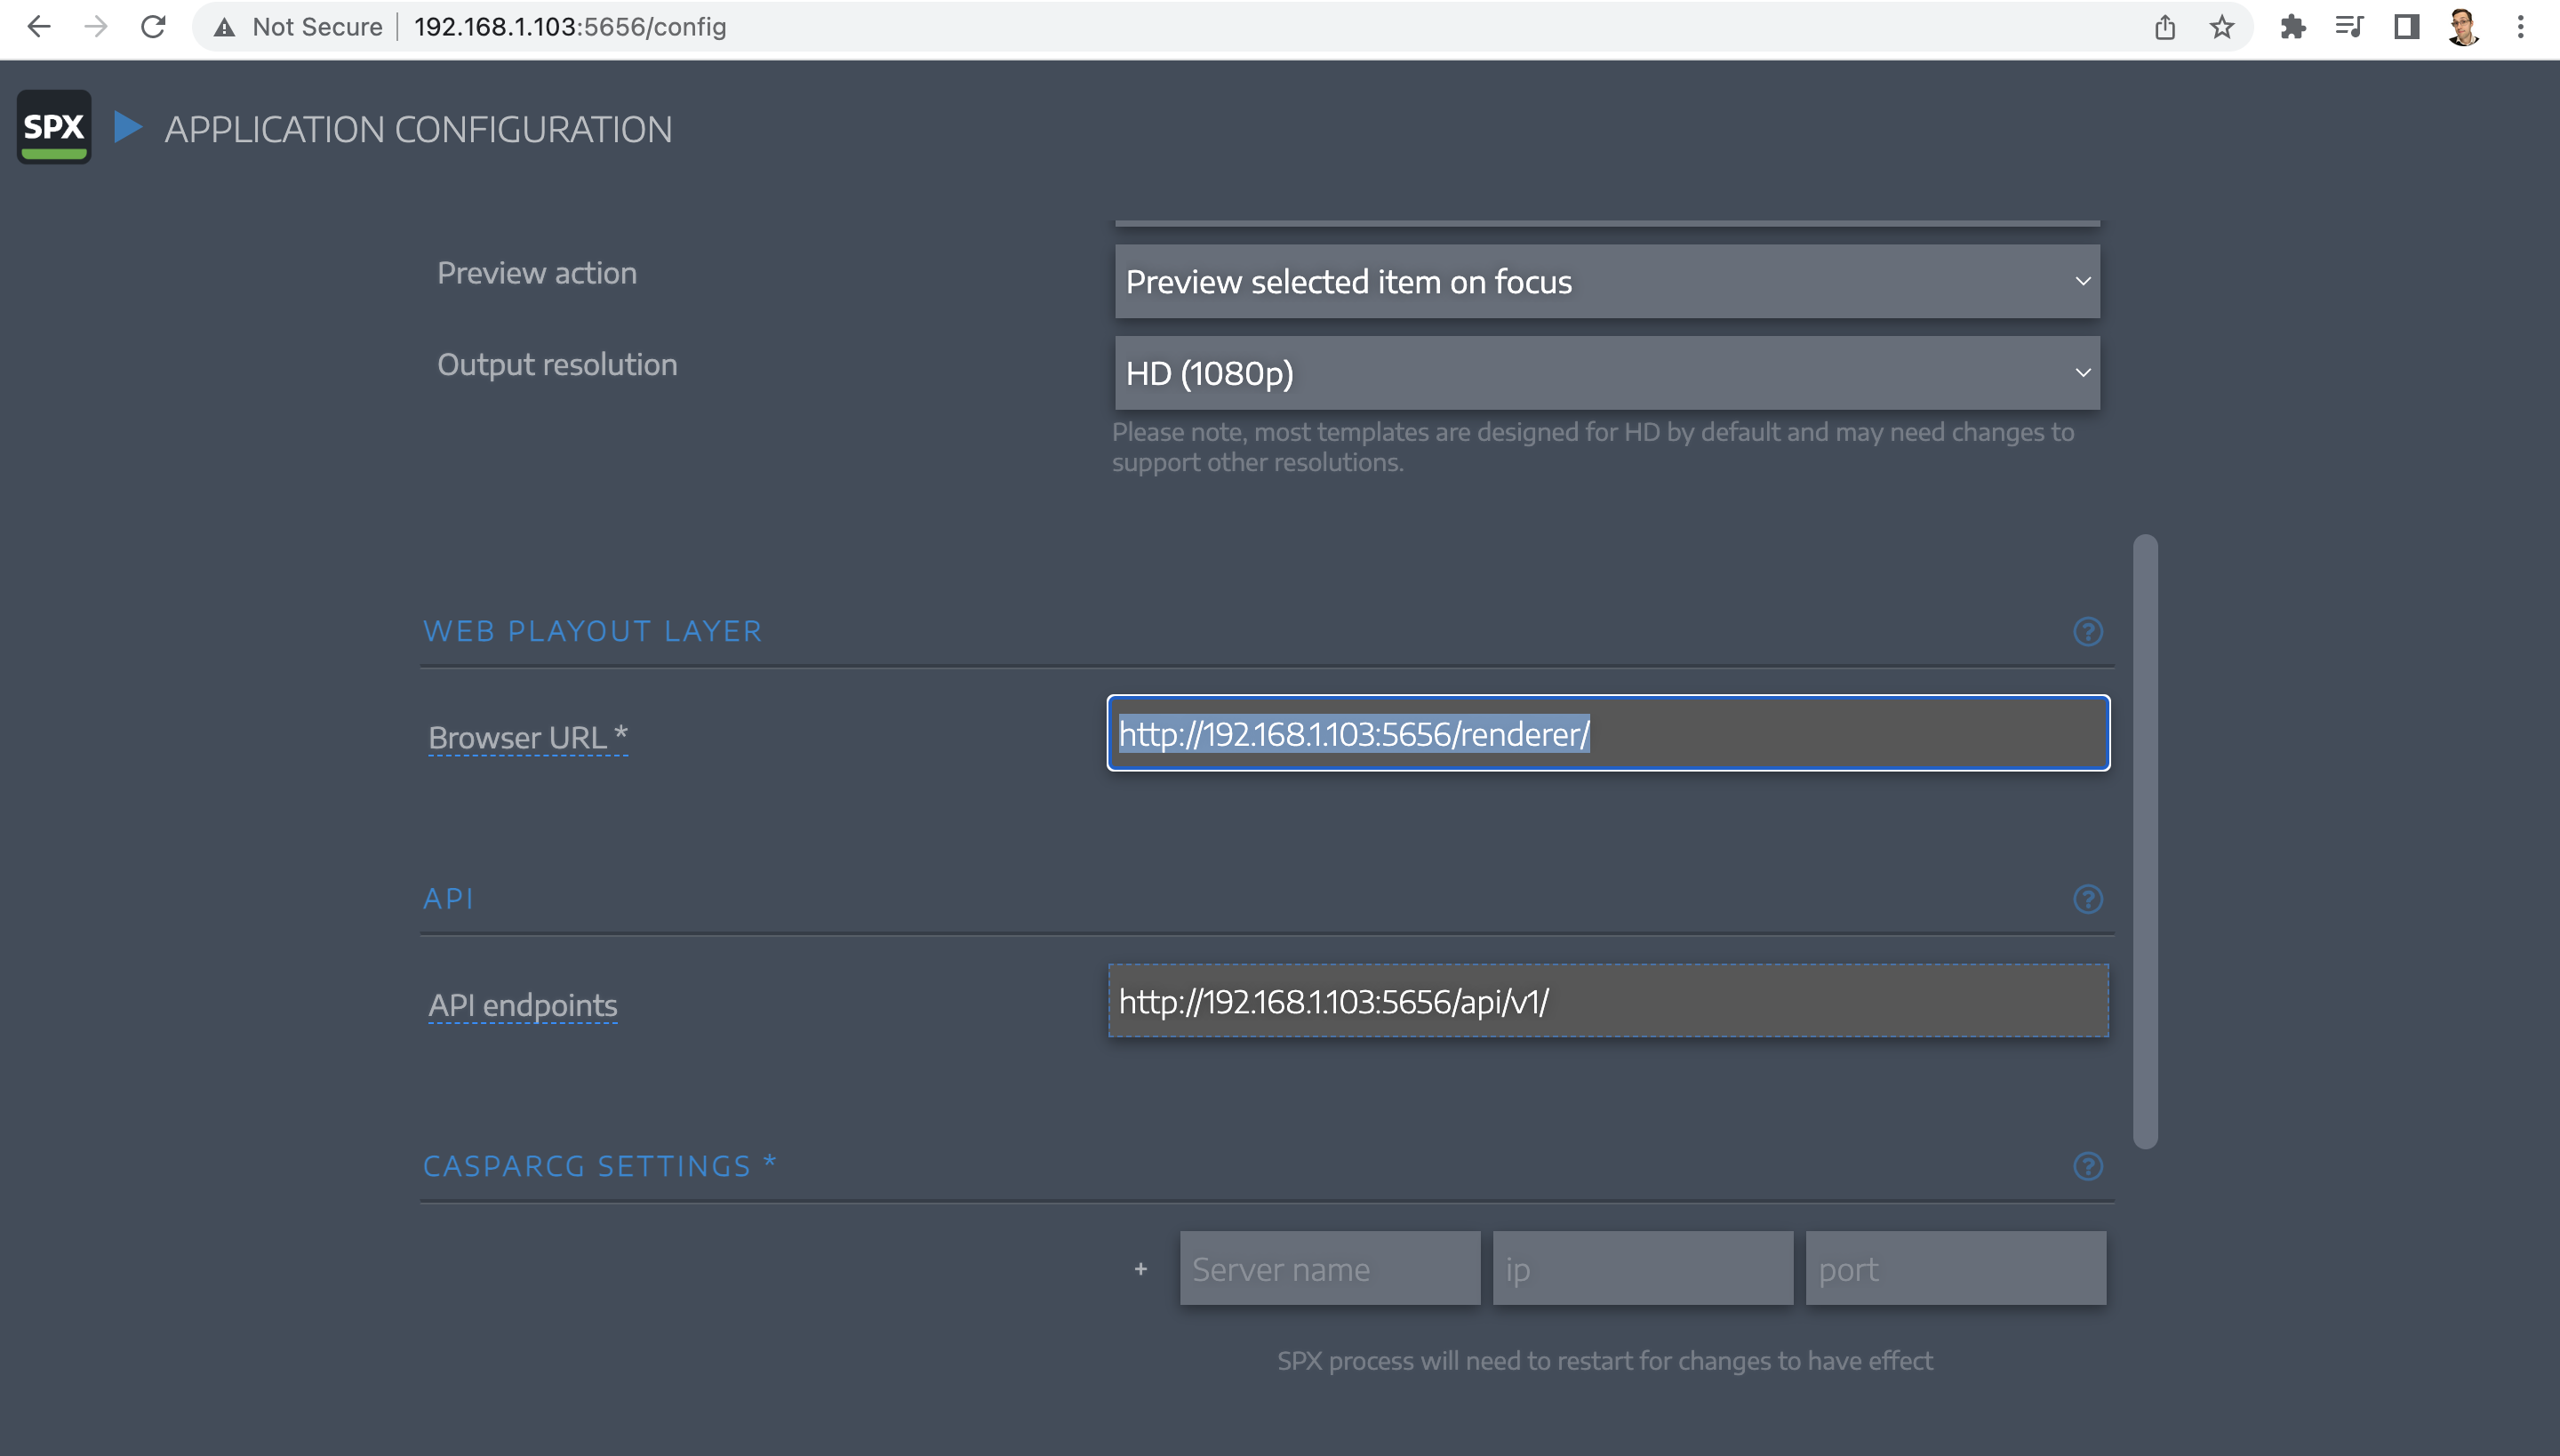
2. Copy the browser URL from the Web Playout Layer
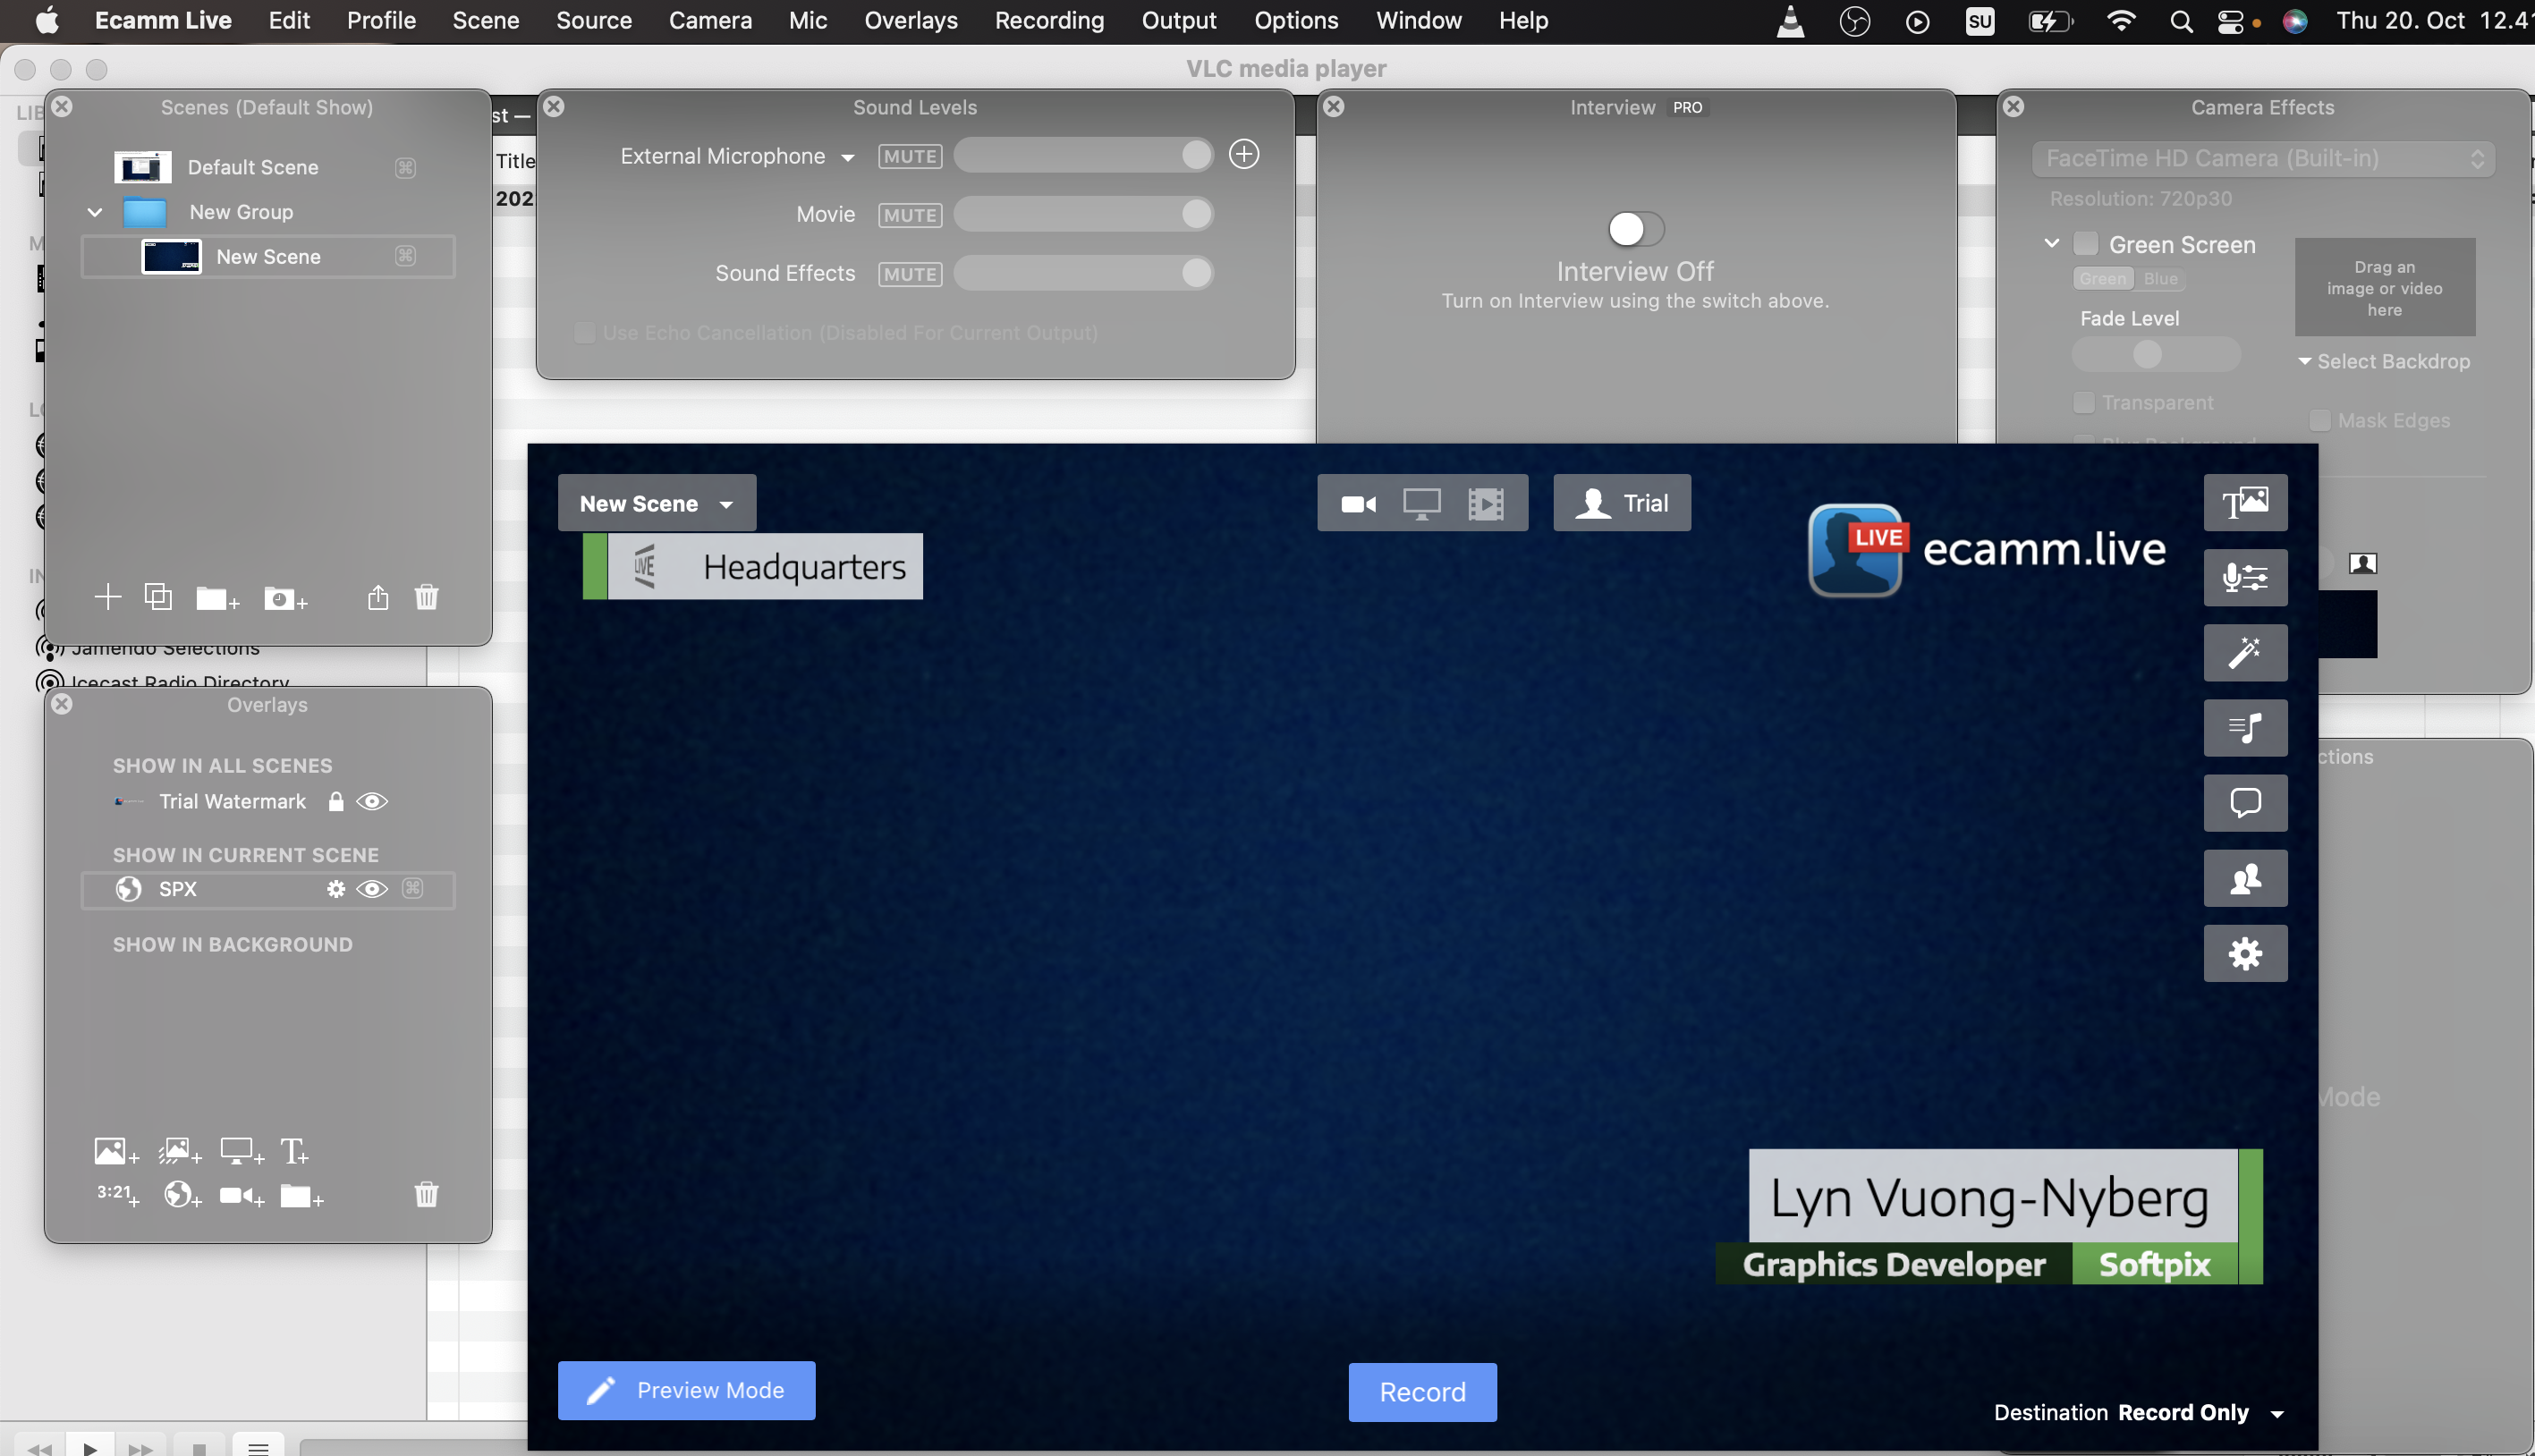
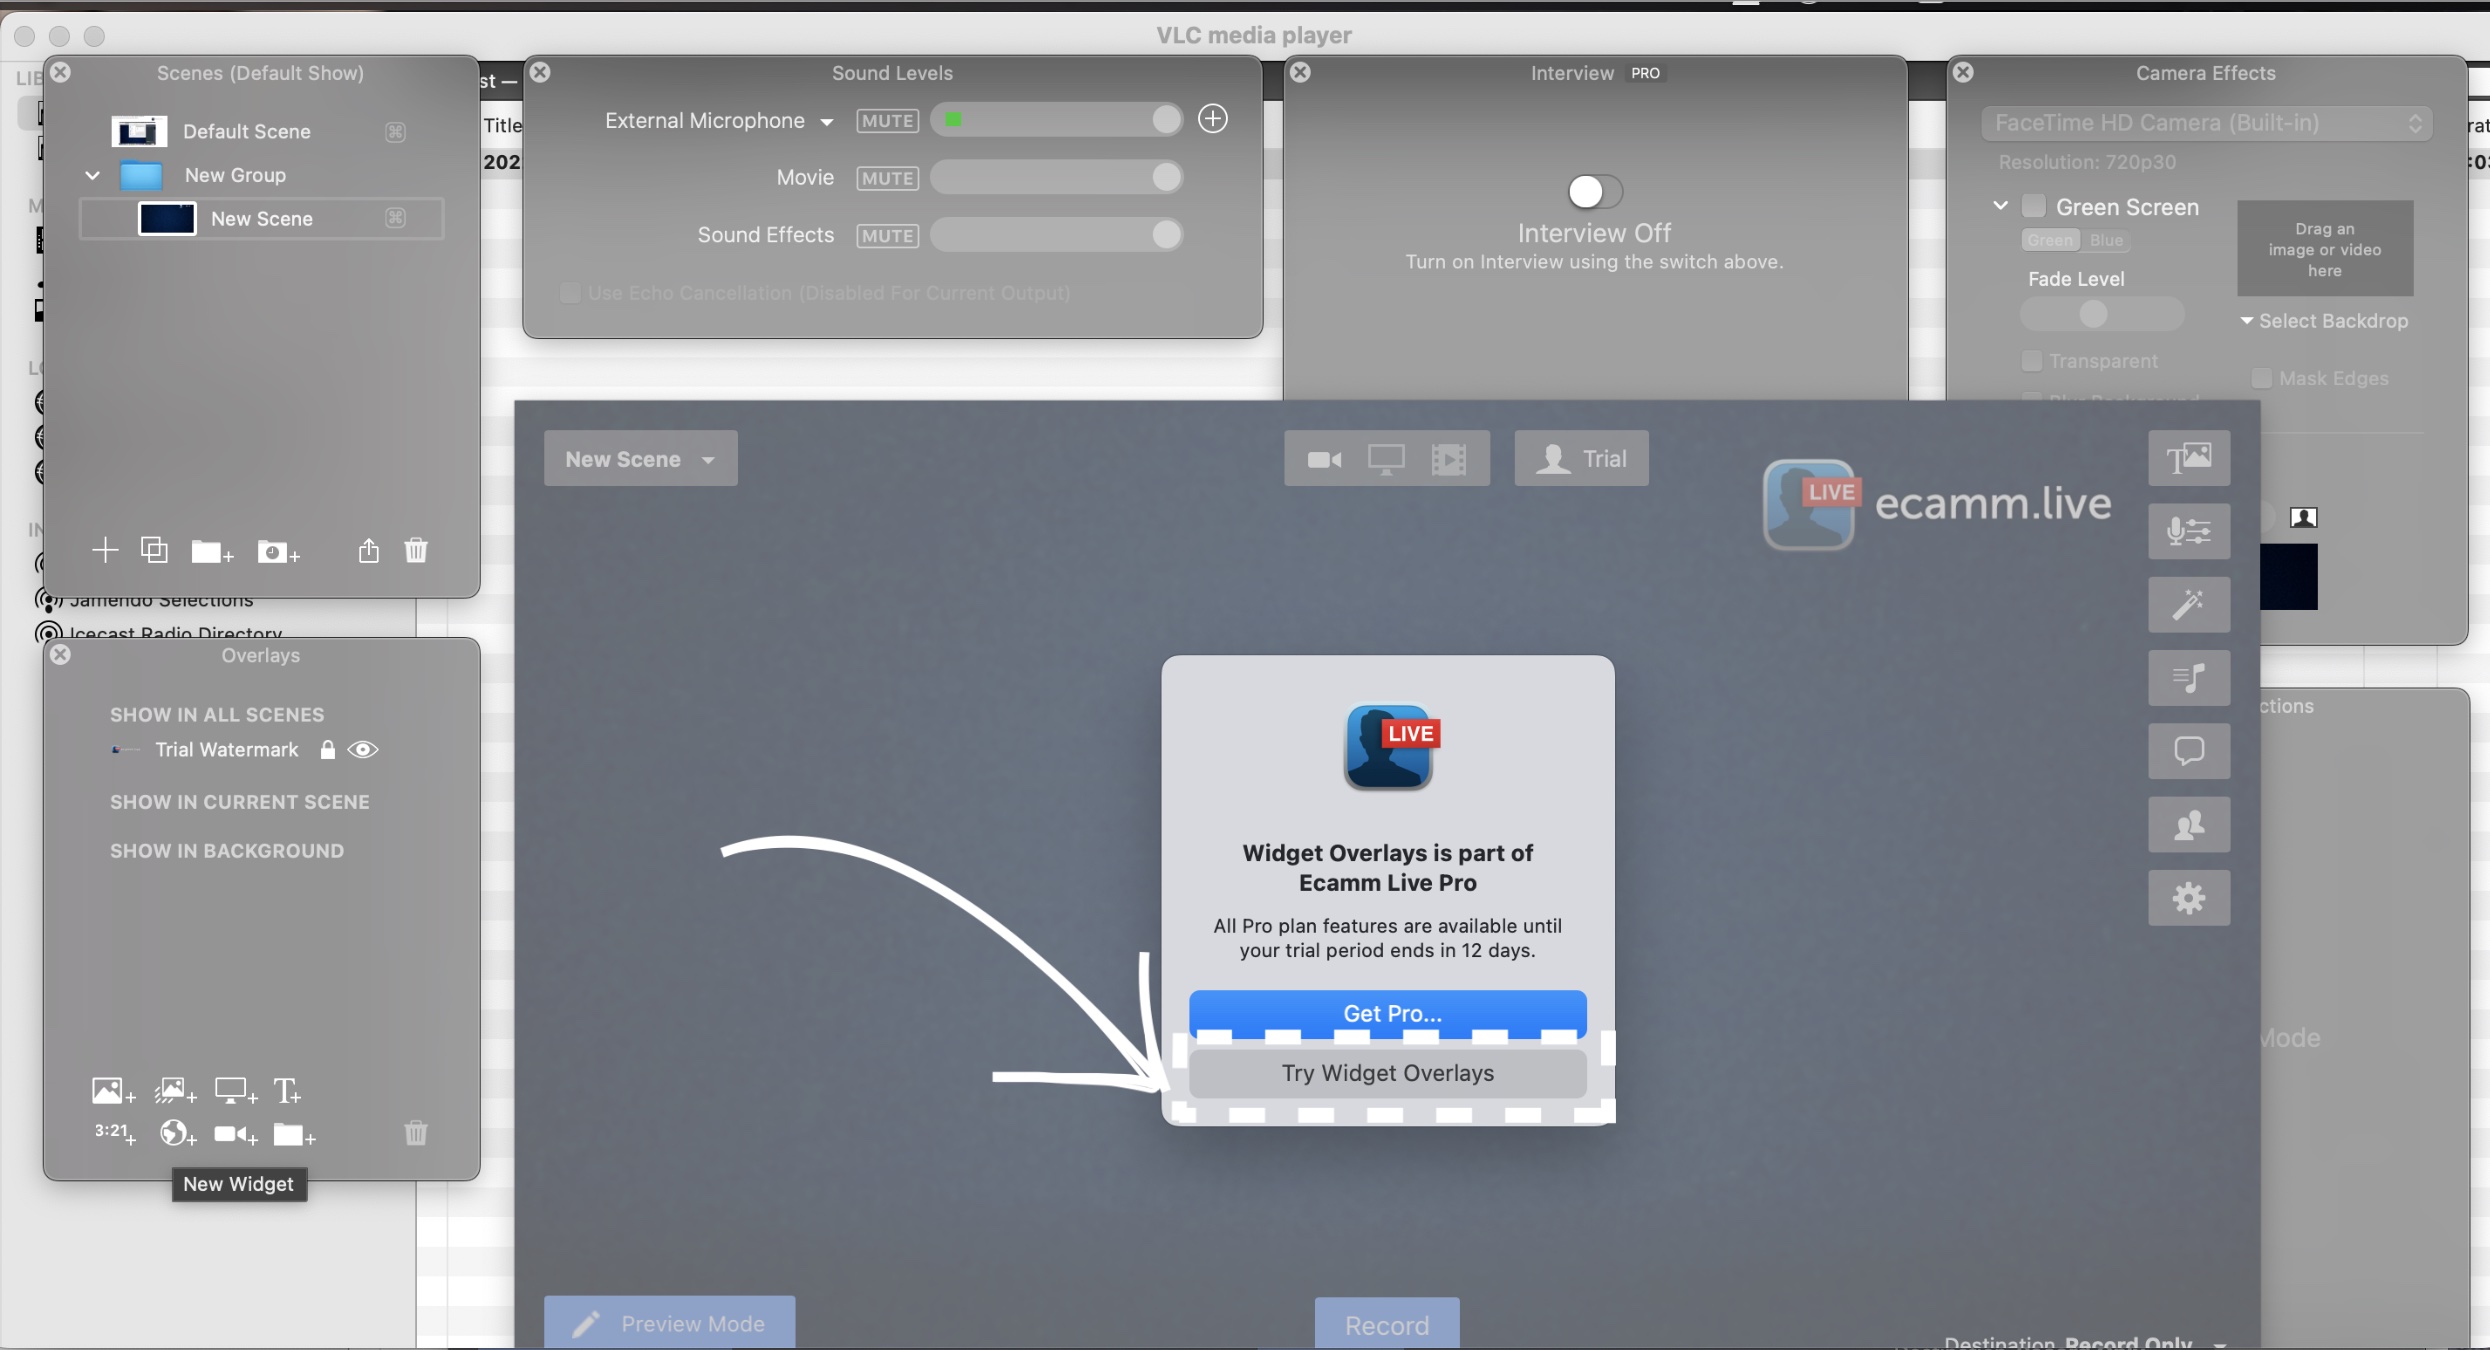
3. Open Ecamm Live and add a New Widget Overlay by clicking on the earth icon in the Overlays section.
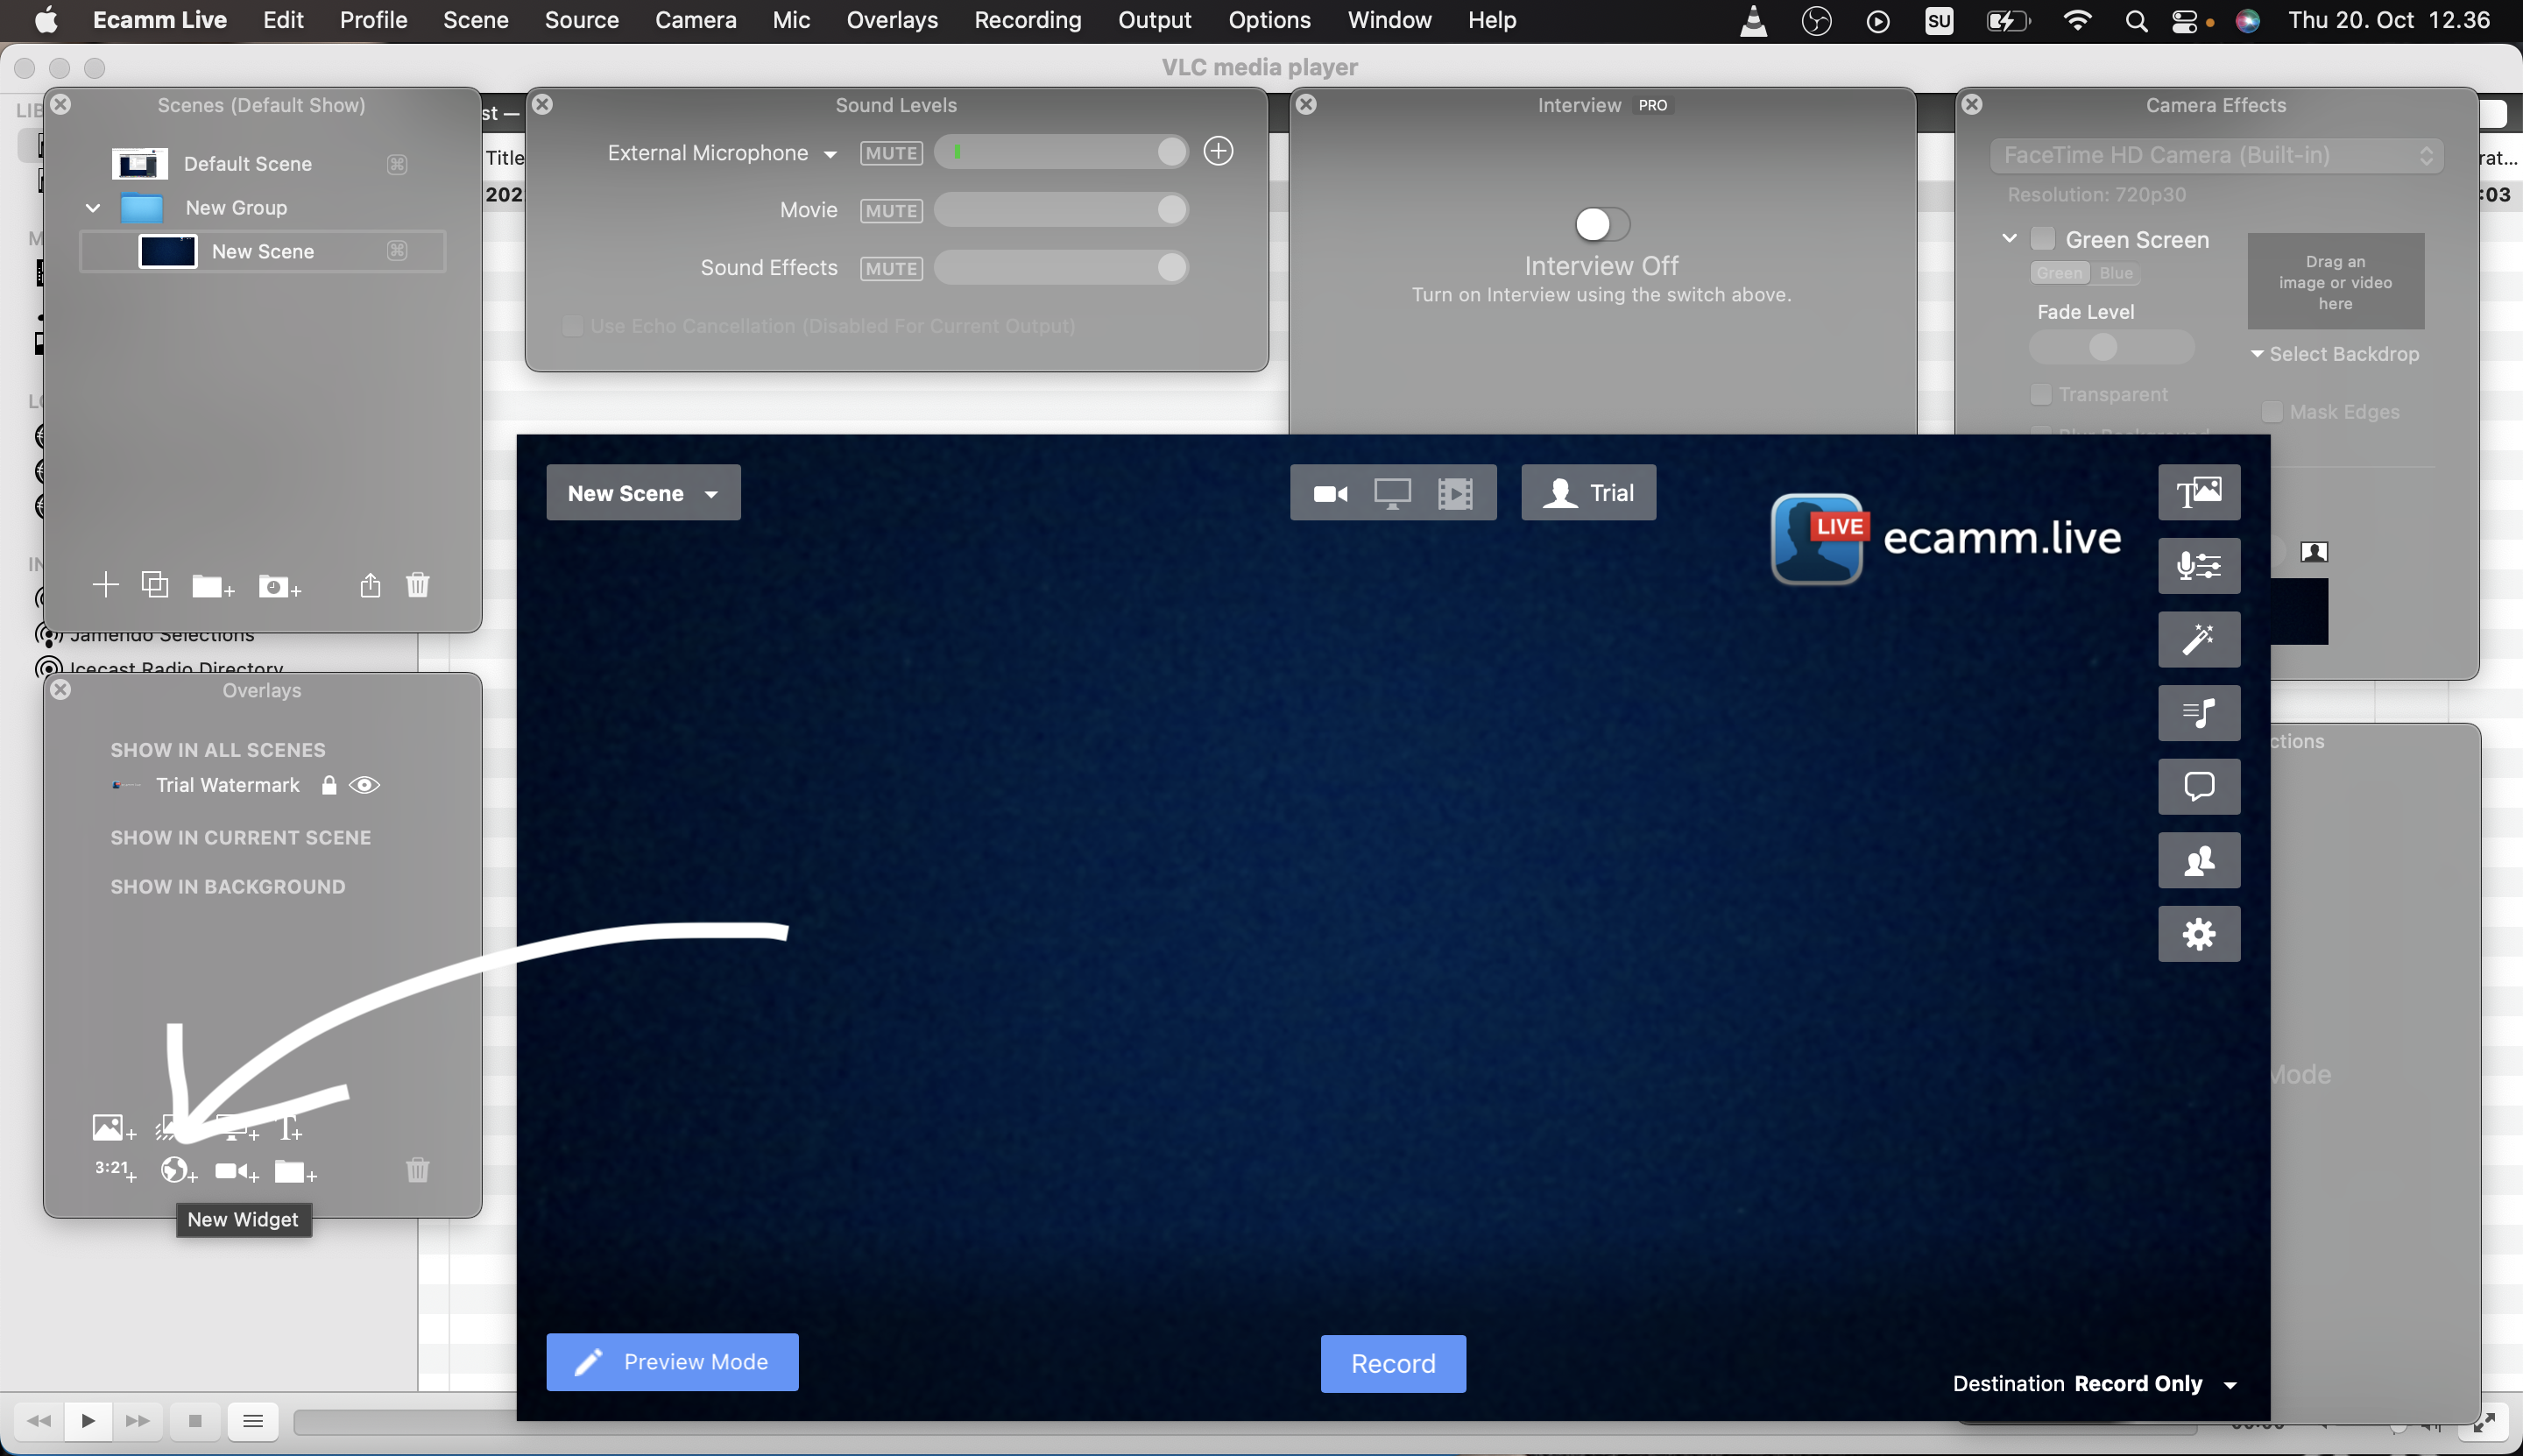
4. Click on "Try Widget Overlays" button.
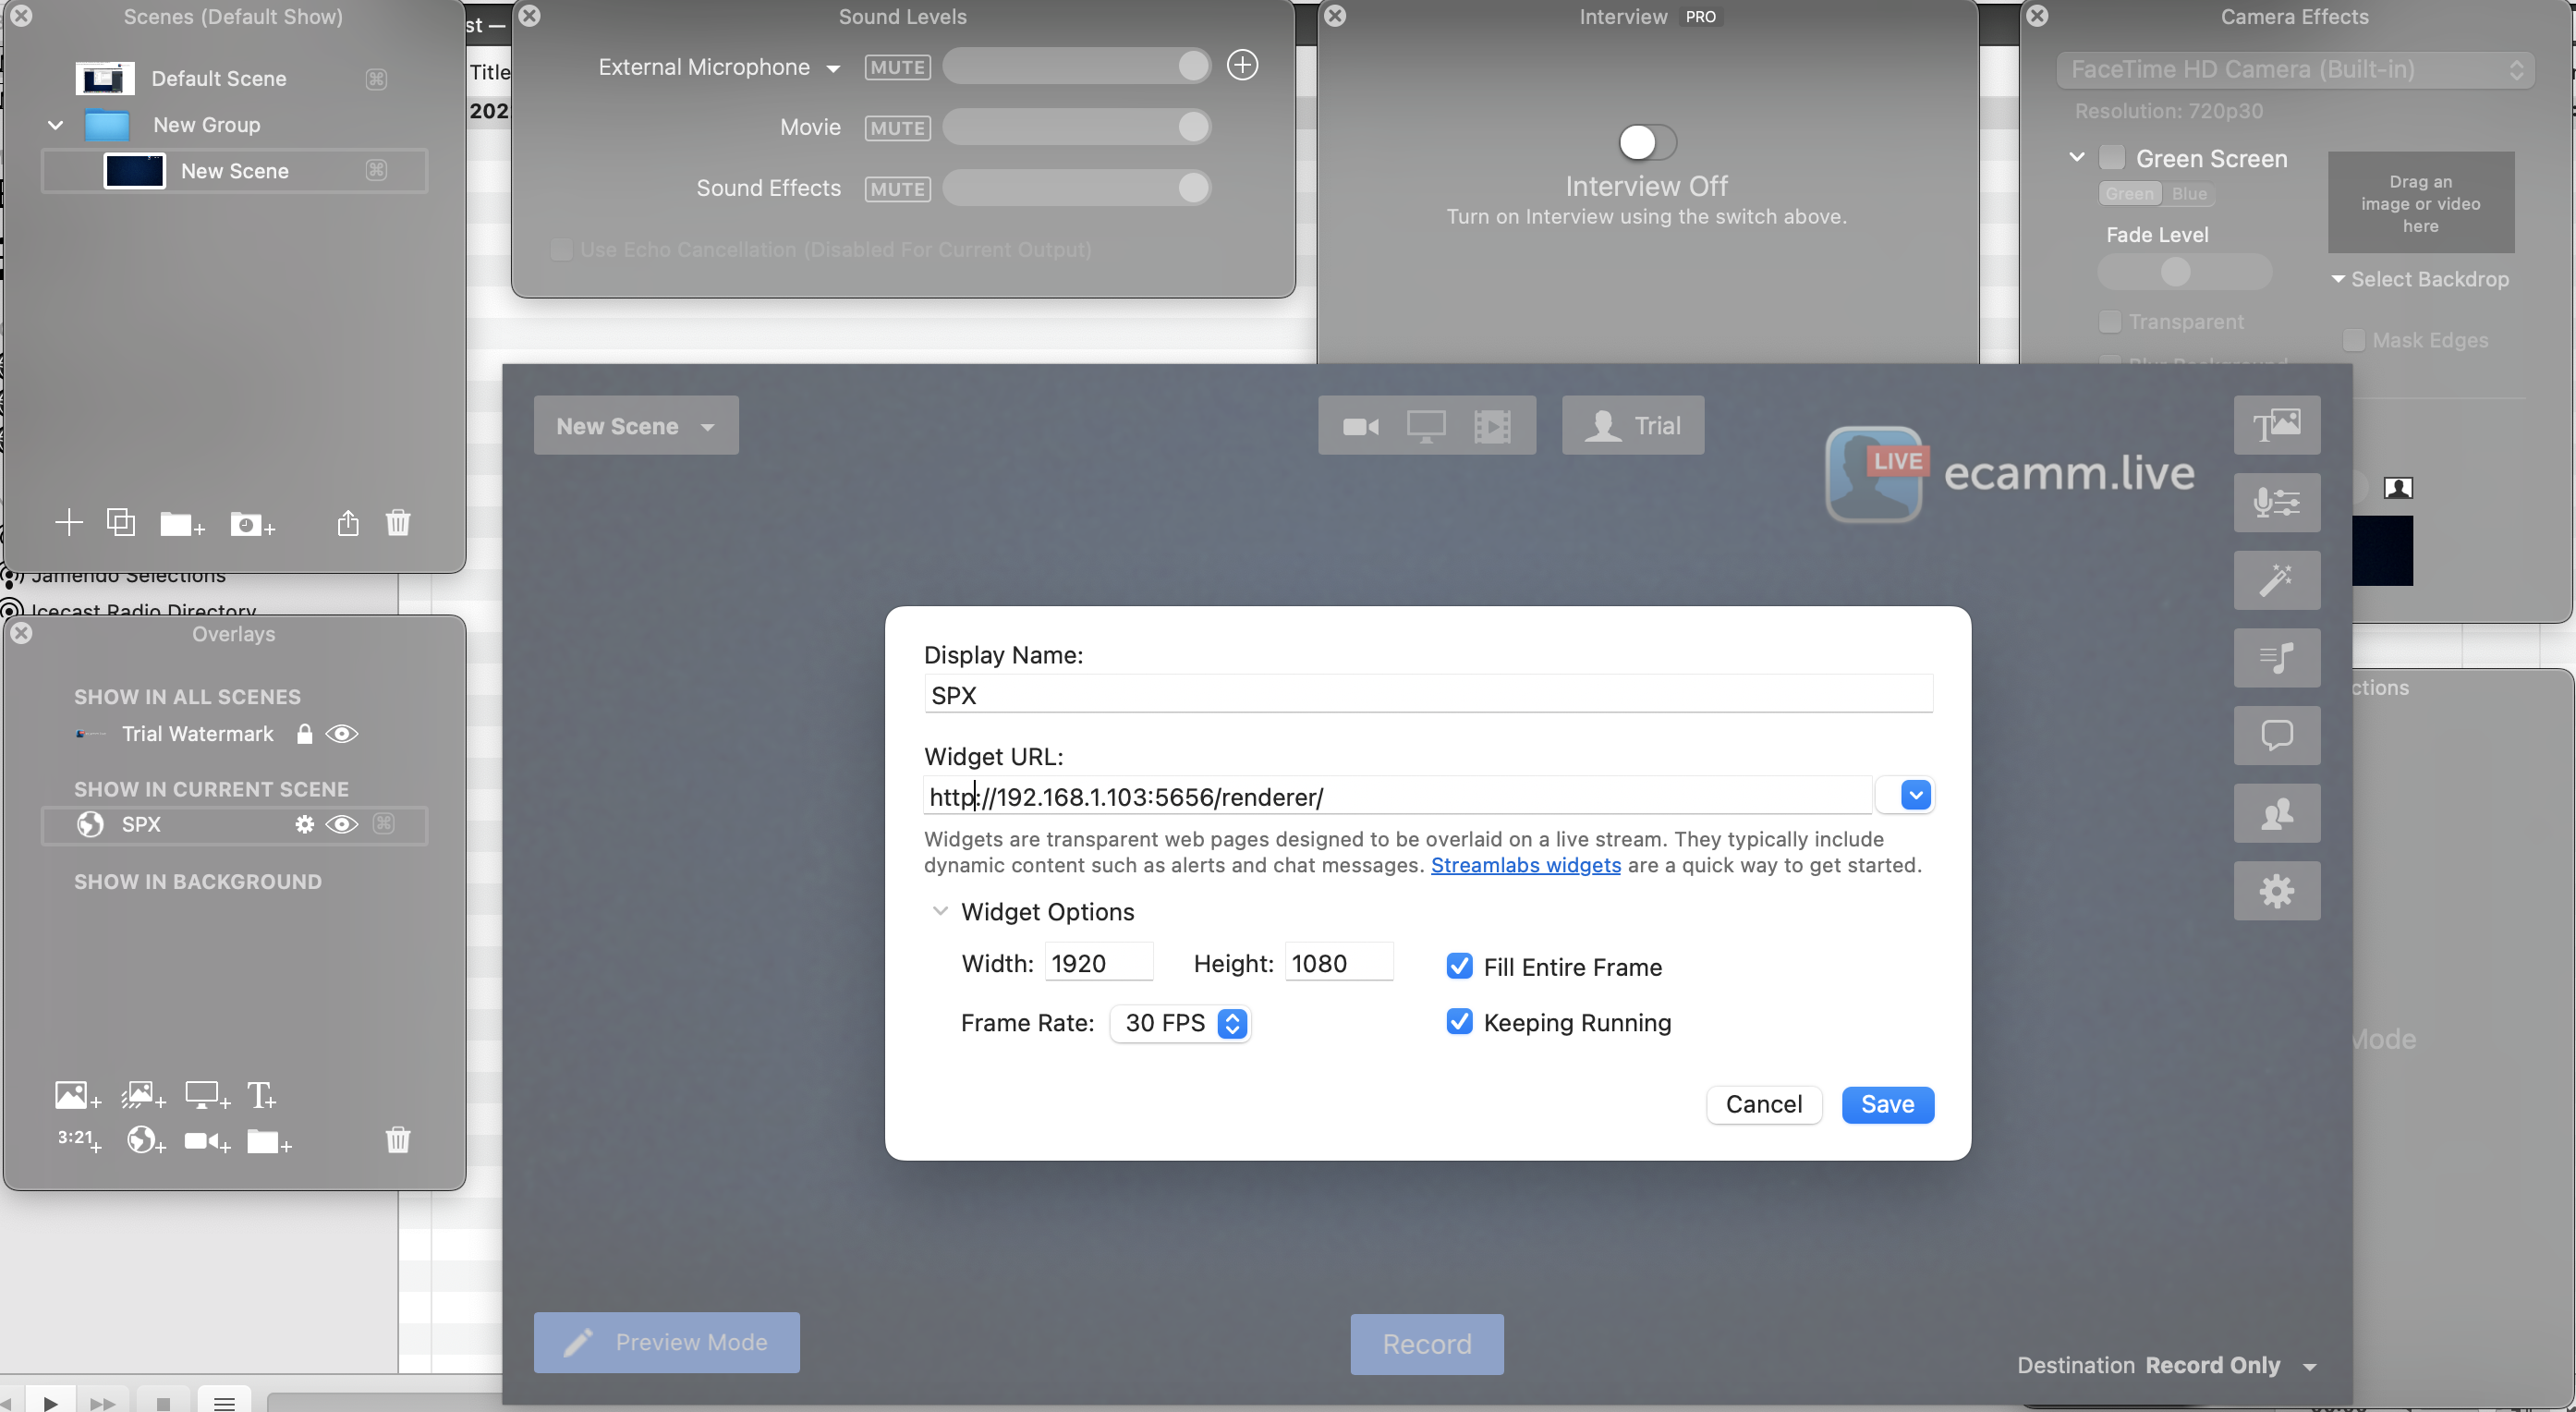
5. Name the Display anything you want, feel free to put SPX.
6. Paste the URL that you copied from SPX to the Widget URL input.
7. Open Widget Options and make sure to put HD as the resolution. So, Width 1920 and Height 1080.
8. Choose 30 FPS in the Frame Rate options.
9. Check both "Fill Entire Frame" and "Keeping Running".
10. Click on the "Add Widget Overlay" button.

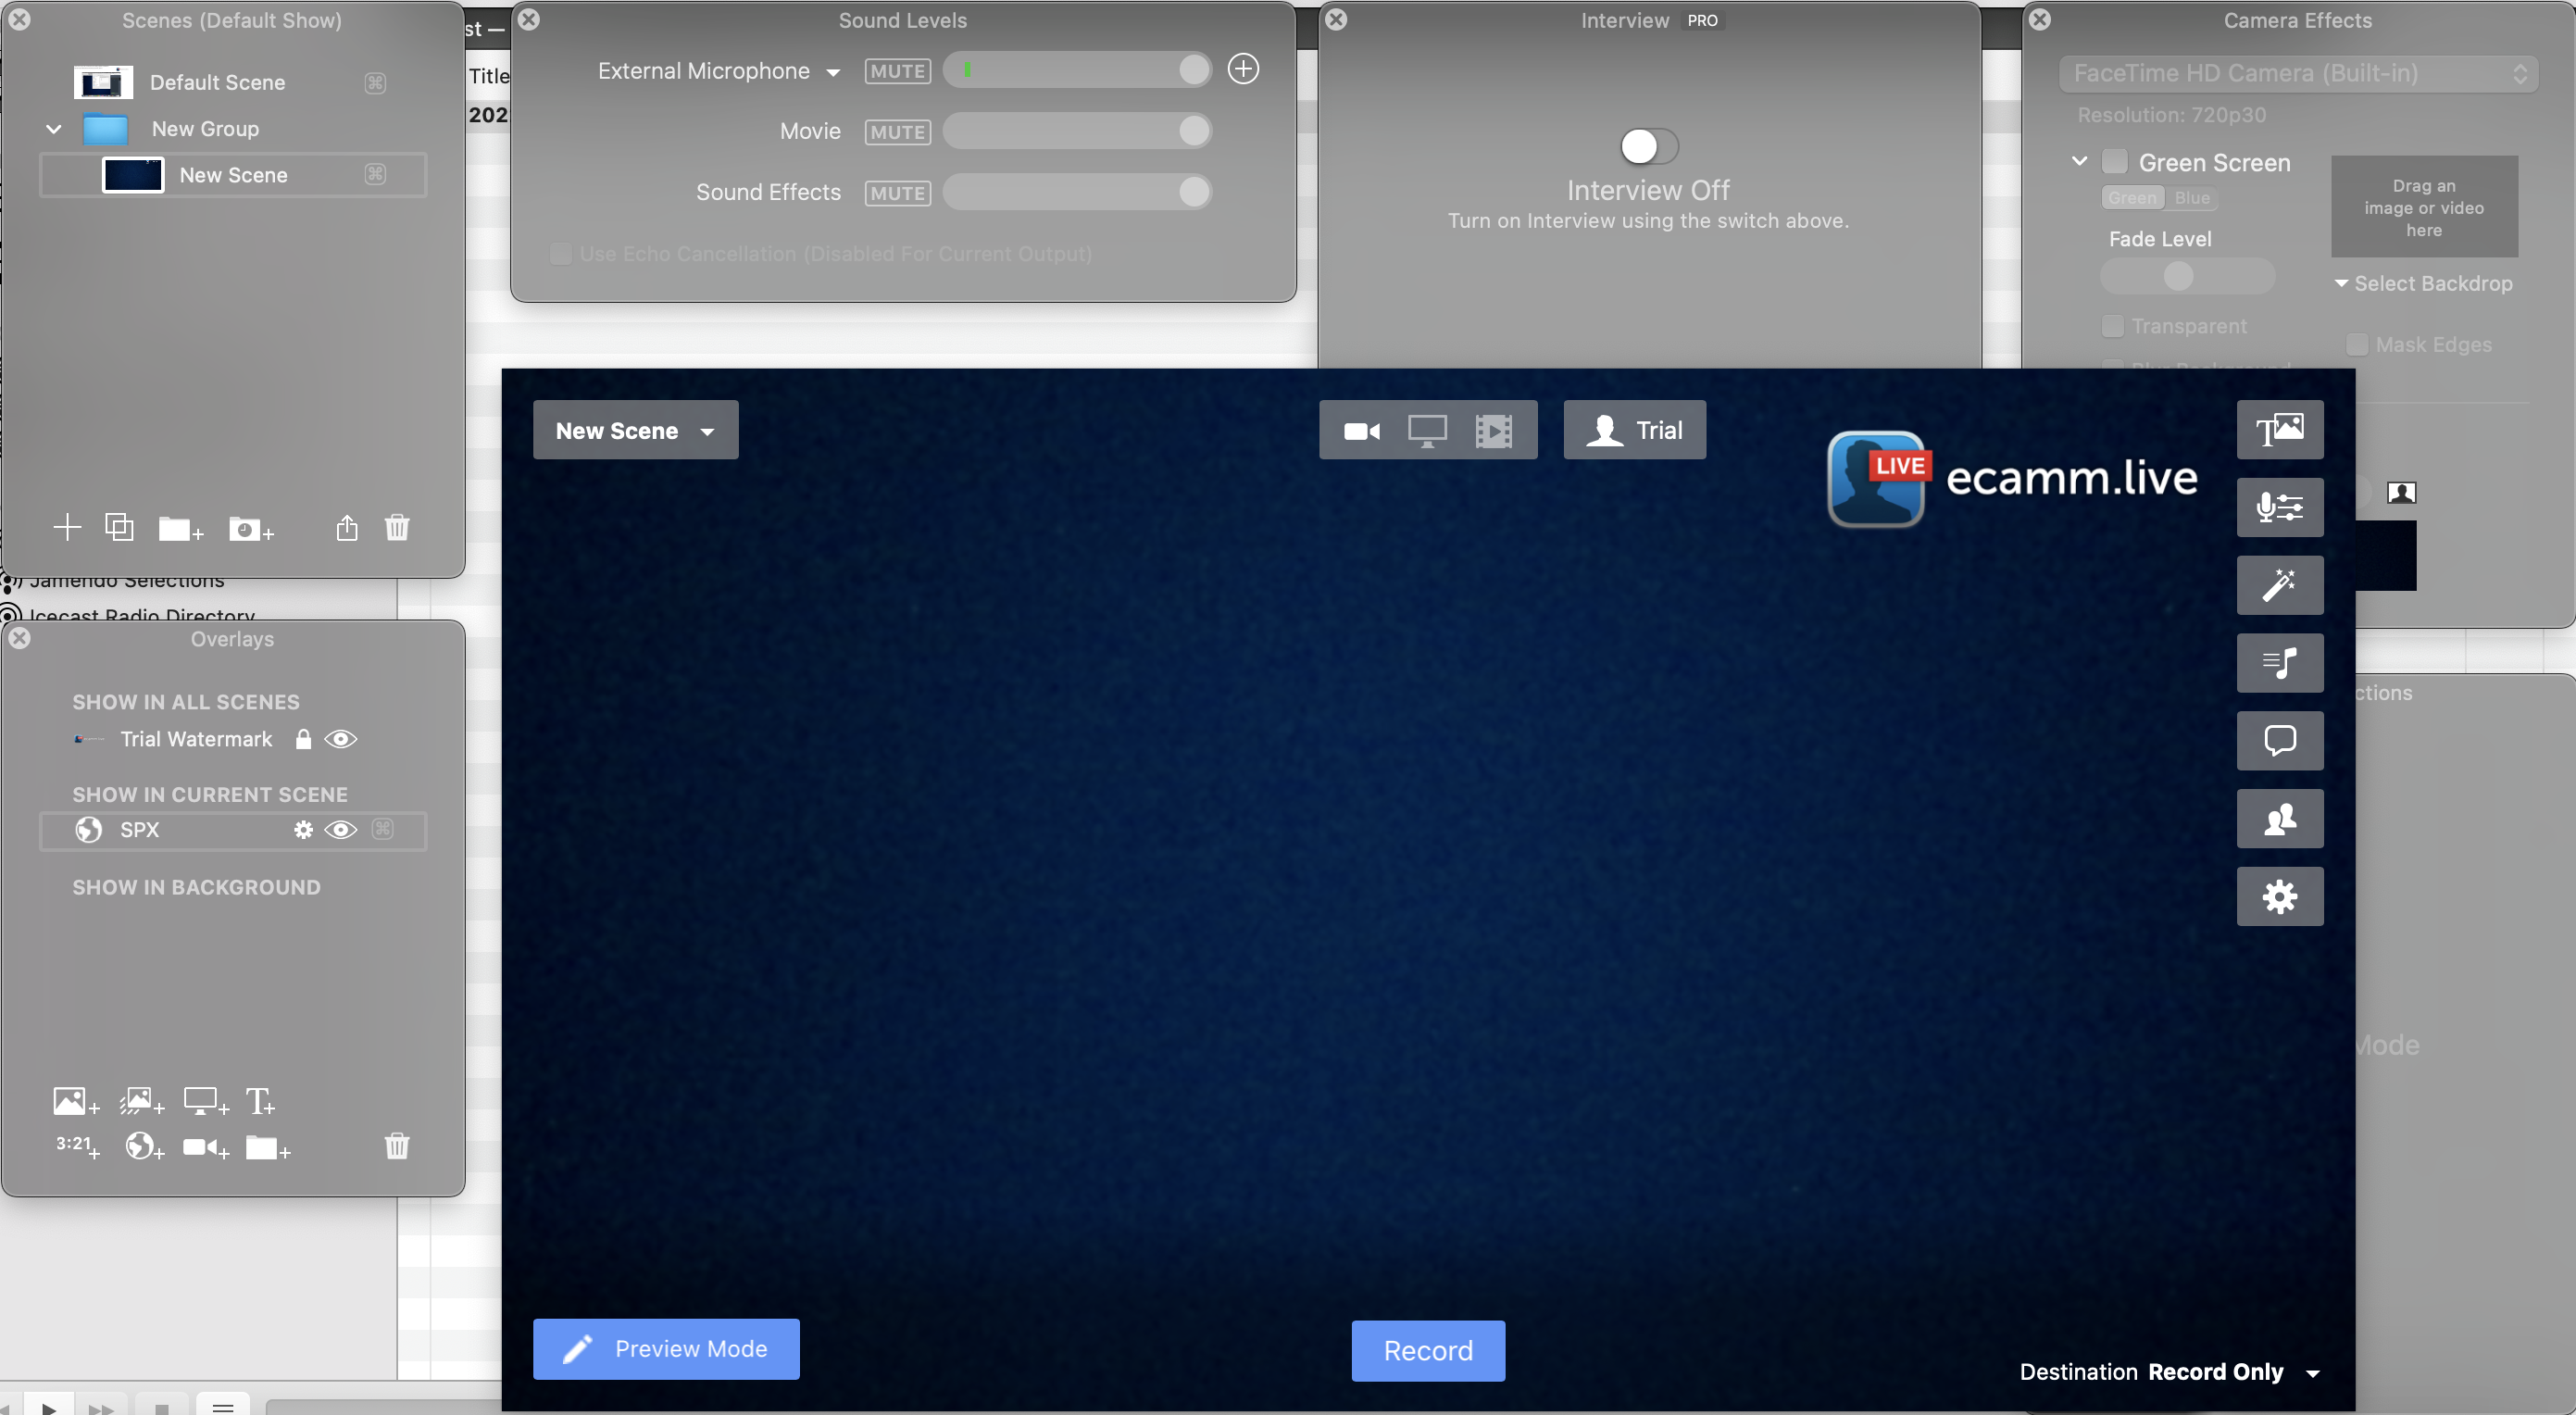
11. Now you can see that SPX is there in the Overlays section. Let's play some SPX rundowns.
12. Go back to SPX and Open Project. Open any rundown that you like.
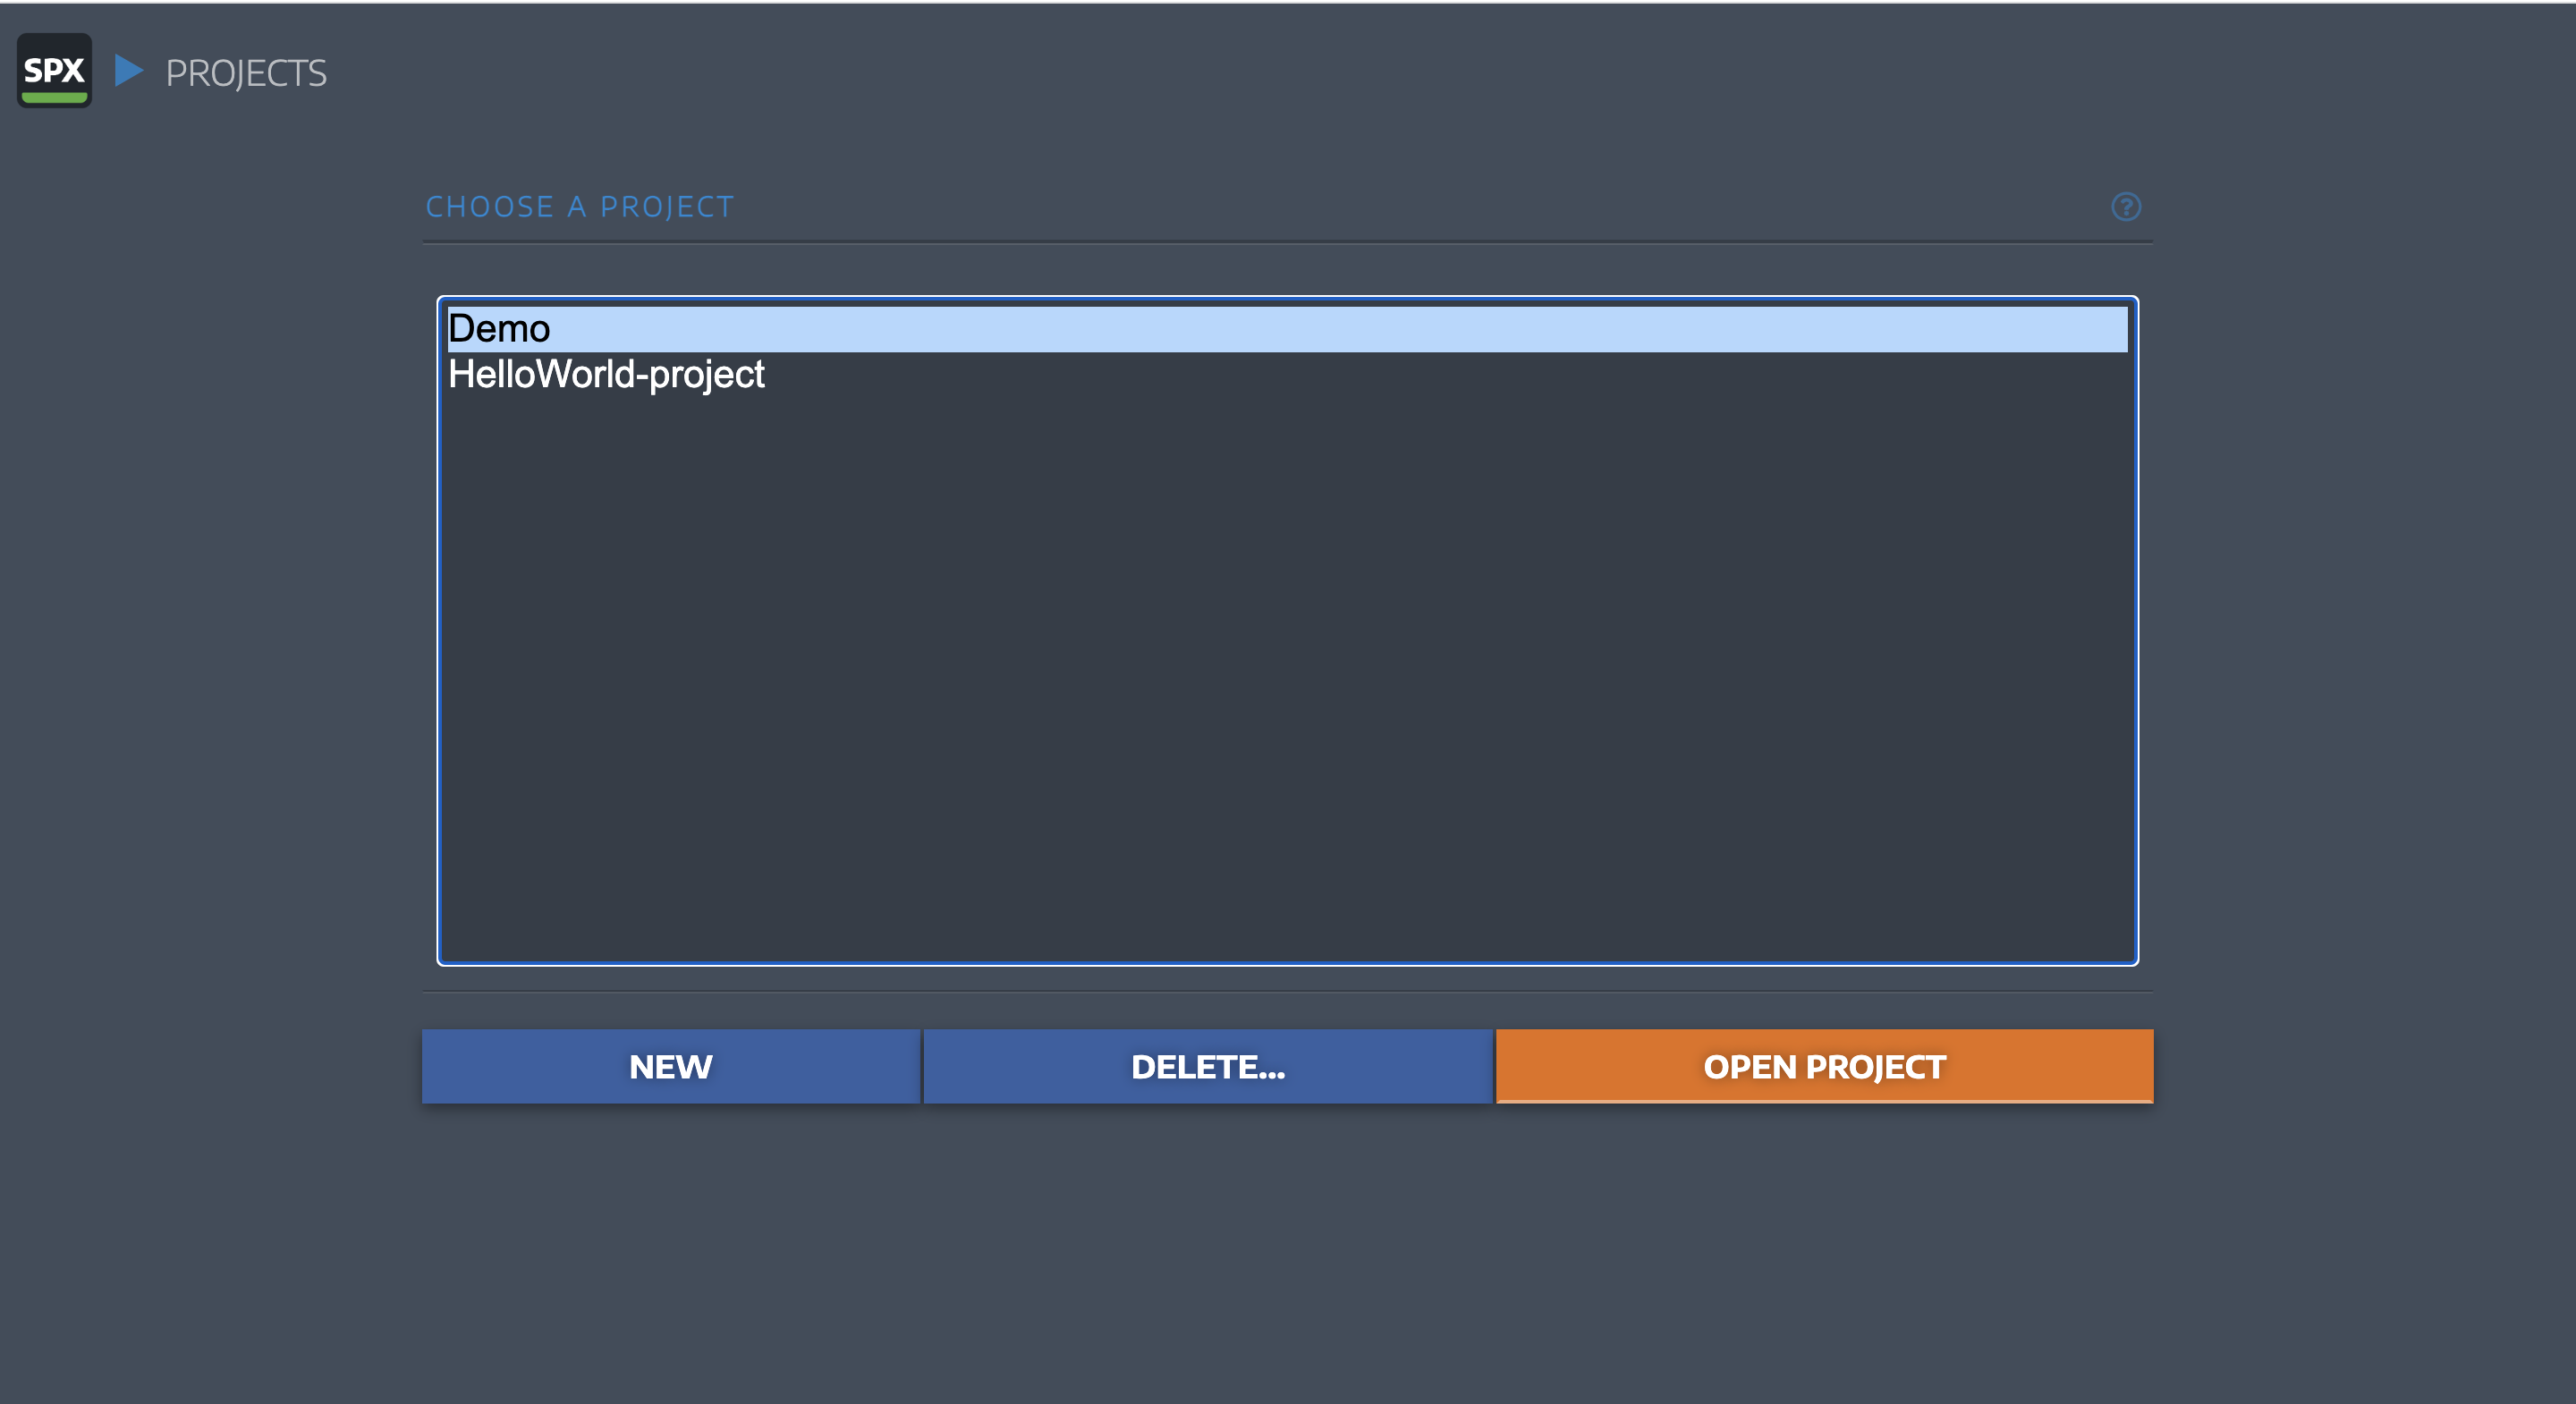
13. I have in here two rundowns in my SPX window.
14. [Trouble shooting] Go back to Ecamm Live and if you don't see the SPX rundowns on the Ecamm Live Scene, double-click again on the SPX overlay in the Overlays section to open the details window.
15. MAKE SURE that the URL starts with HTTP. As for now SPX only supports HTTP requests.
So, if Ecamm Live changes it to "https://", take the "s" out. Hit Save.
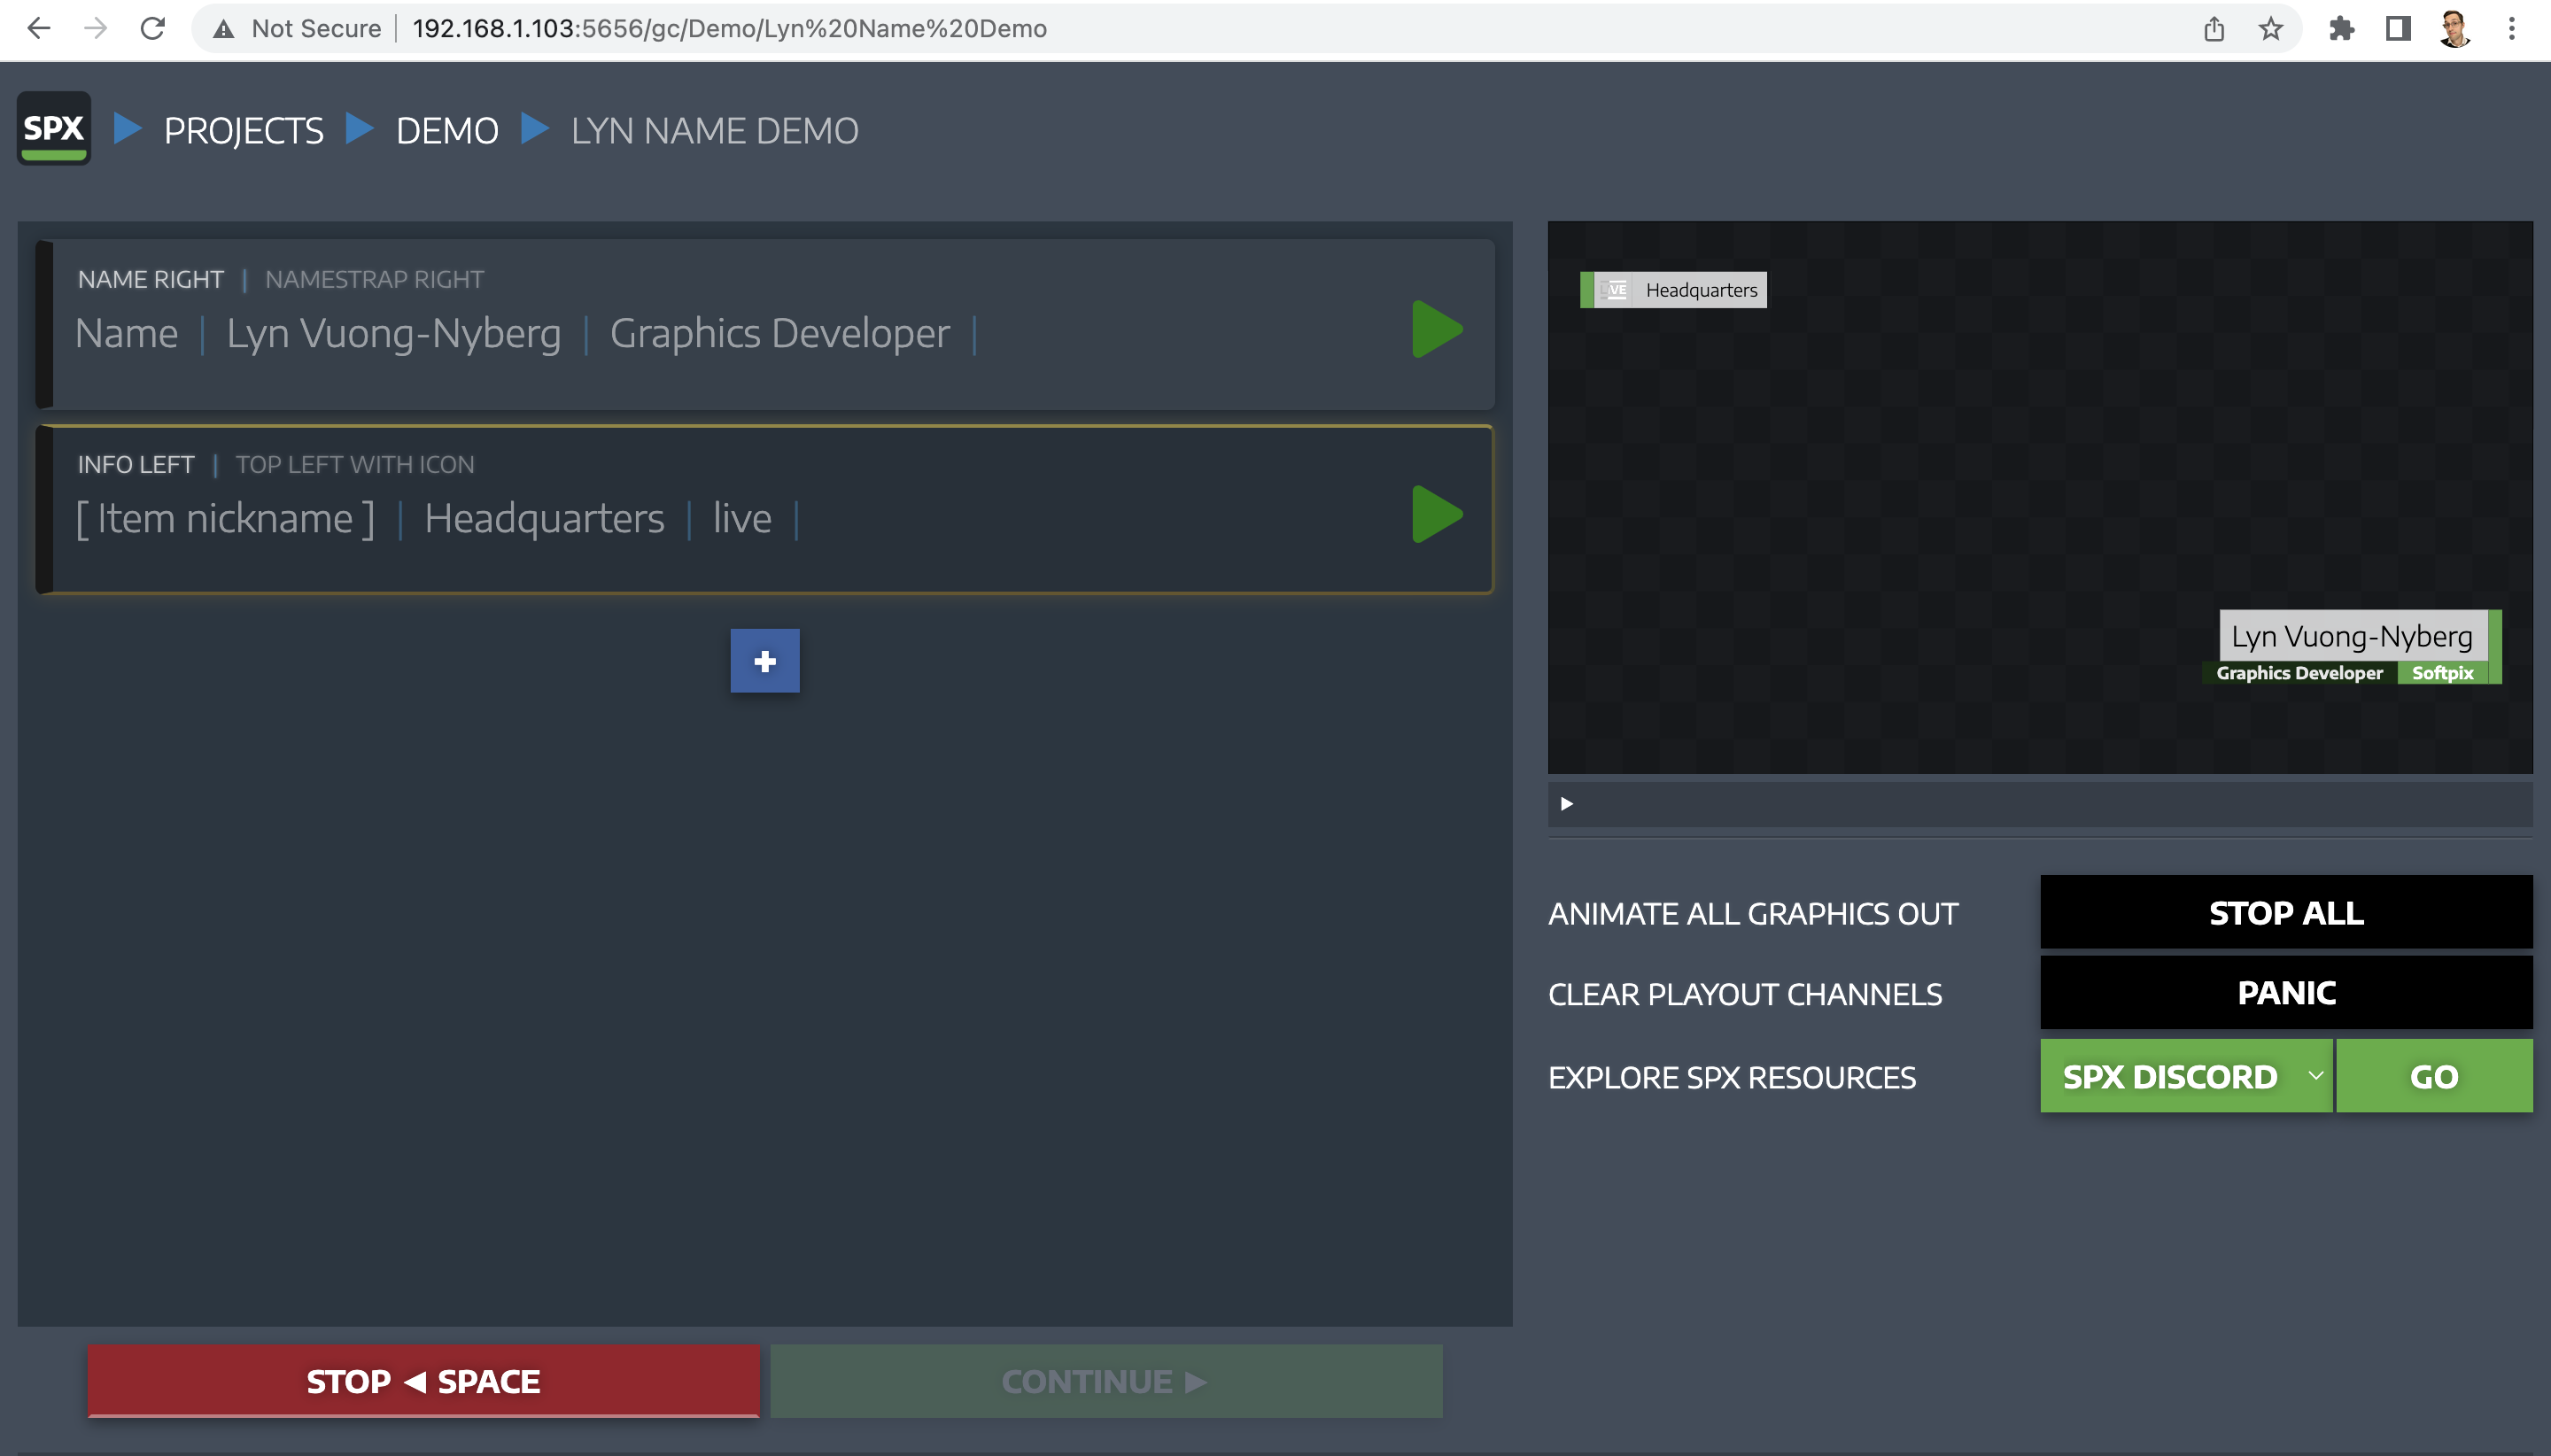
16. There you have it, the rundown of SPX on Ecamm Live.